How Can a Storyboard Creator Use the Storyboard Template?
The traditional approach involves sketching or drawing each frame on paper, arranging them in sequence to capture the flow of your video. This method allows for a hands-on, tactile experience, giving you the freedom to add annotations or notes alongside the images to provide additional context.
However, doing everything on paper might take a long time, and the process might get complicated if you need to edit some parts. The alternative – ready-to-use storyboard template can be an efficient and much faster way to create a workable storyboard.
Storyboard template for people without good drawing skills
Many a time, people who work on storyboards don’t know how to draw. In this case, they will have to write their idea down and then expect an artist (storyboard creator) to draw it accordingly. The xTiles Storyboard Template works for both cases.
You can use it as the first step to visually plan your story, so a person who will draw it will know what they need to do. You can add extended descriptions so that your storyboard can function without drawings. Finally, it’s possible to draw,using Paint or any other graphic editor or if you use an iPad, directly in the template.
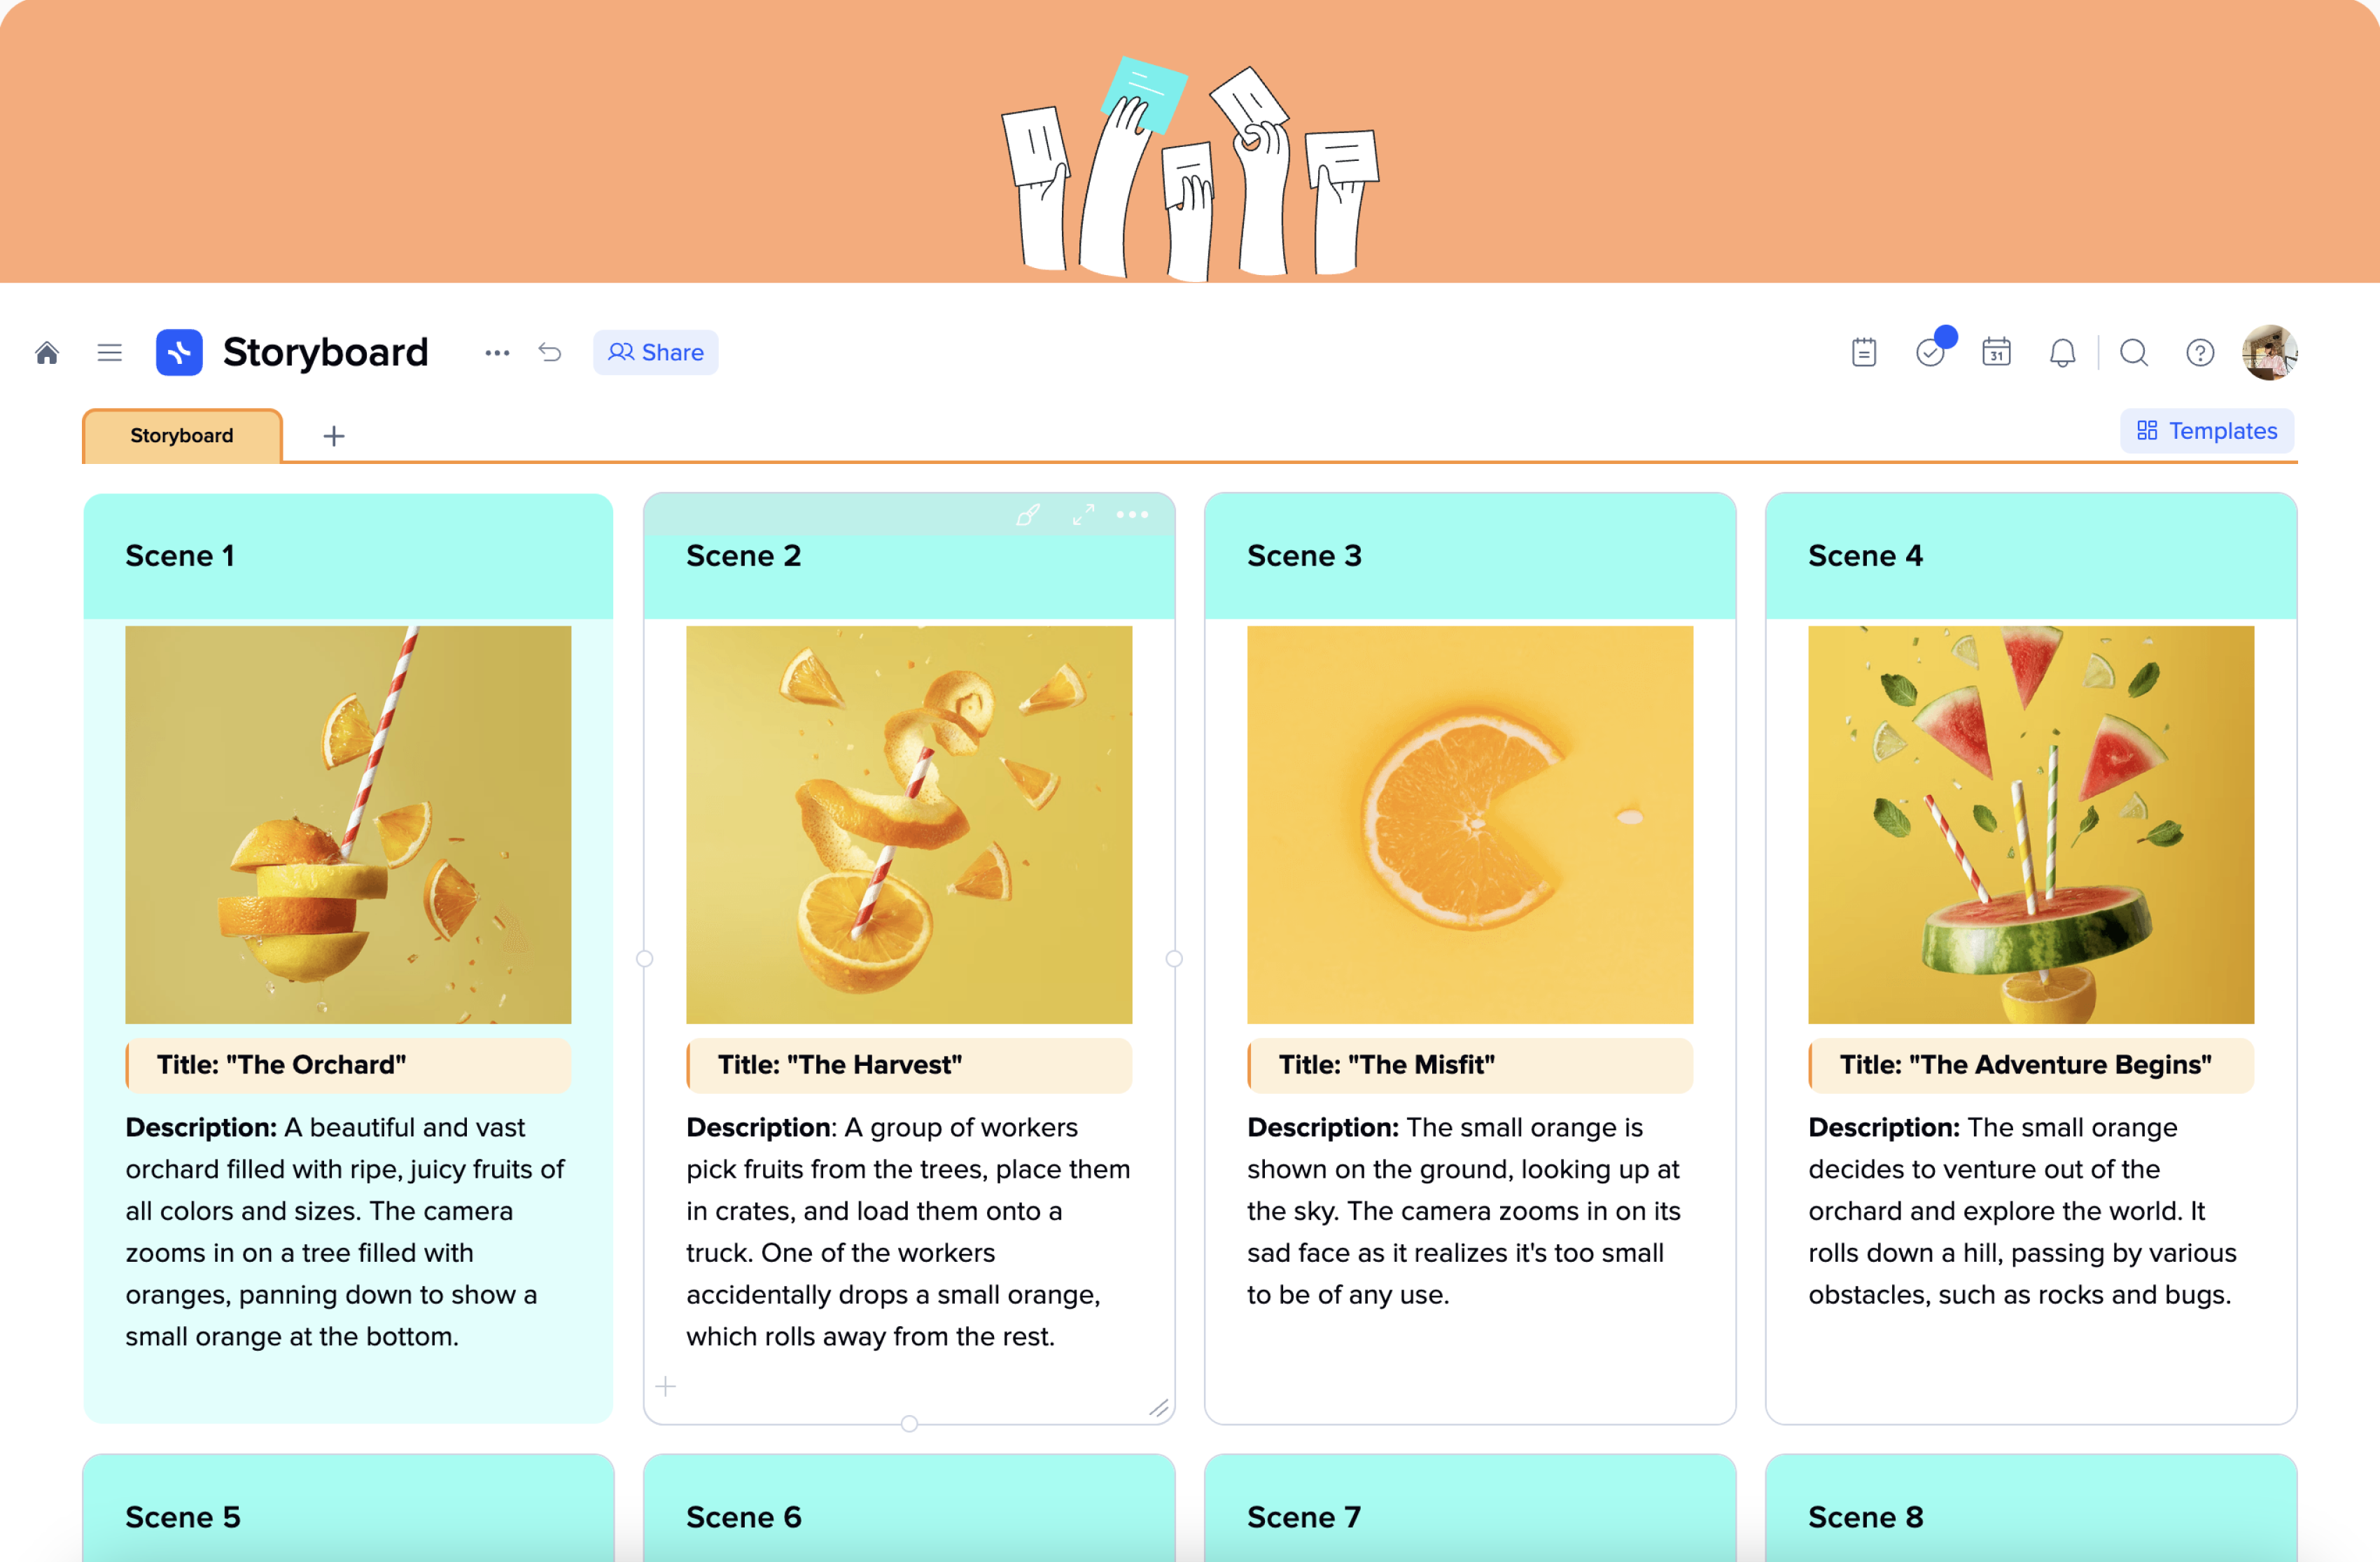
With xTiles, the first step of storyboarding – creating blank spaces is unnecessary. Everything is already done. Additionally, you can add more scenes or delete some if you need to, as the xTiles Storyboard Template is easily customizable. Every scene (shot) is a separate tile – a structural unit for information. You can open it to add extensive information, suggestions for people who will be responsible for the next stages of the process, etc.
Creating a storyboard with a ready-to-use layout
Open Paint or any other graphic editor tool and sketch your scenes. If you’re working using an iPad, you can draw directly in the template without implementing other tools into your storyboard creation process. Also, you can use illustrations of other people, photos from stocks, screenshots, etc., to visualize your idea.
Don’t worry about drawing skills when using a storyboard template. Stick figures are enough in 9 out of 10 cases. Leave your skills and creativity to the actual video or artists who are going to finish the presentation. Focus on adding comprehensive accompanying text for each scene, which will help people visualize your intent more clearly and in detail. Context will eliminate the low level (if it’s low) of your drawings and in case you pour your heart into your sketches, it will help to create an even greater picture.
Beneath each scene, you need to describe what is happening. Your storyboard will look much like a comic book. That’s why it’s important to keep it simple, so anyone can understand and relate to what you’re trying to tell.
When everything is ready, you can share your storyboard with your teammates or client to present the concept and get feedback. Also, it is possible to download and print it, if you prefer this way of presentation.
As you can see, employing a storyboard template enhances organization, facilitates communication, and promotes efficient planning and visualization of ideas, leading to customer satisfaction in the end. It optimizes the creative process by offering a tangible framework and serves as a valuable tool in identifying and addressing potential challenges during the early stages of a project.