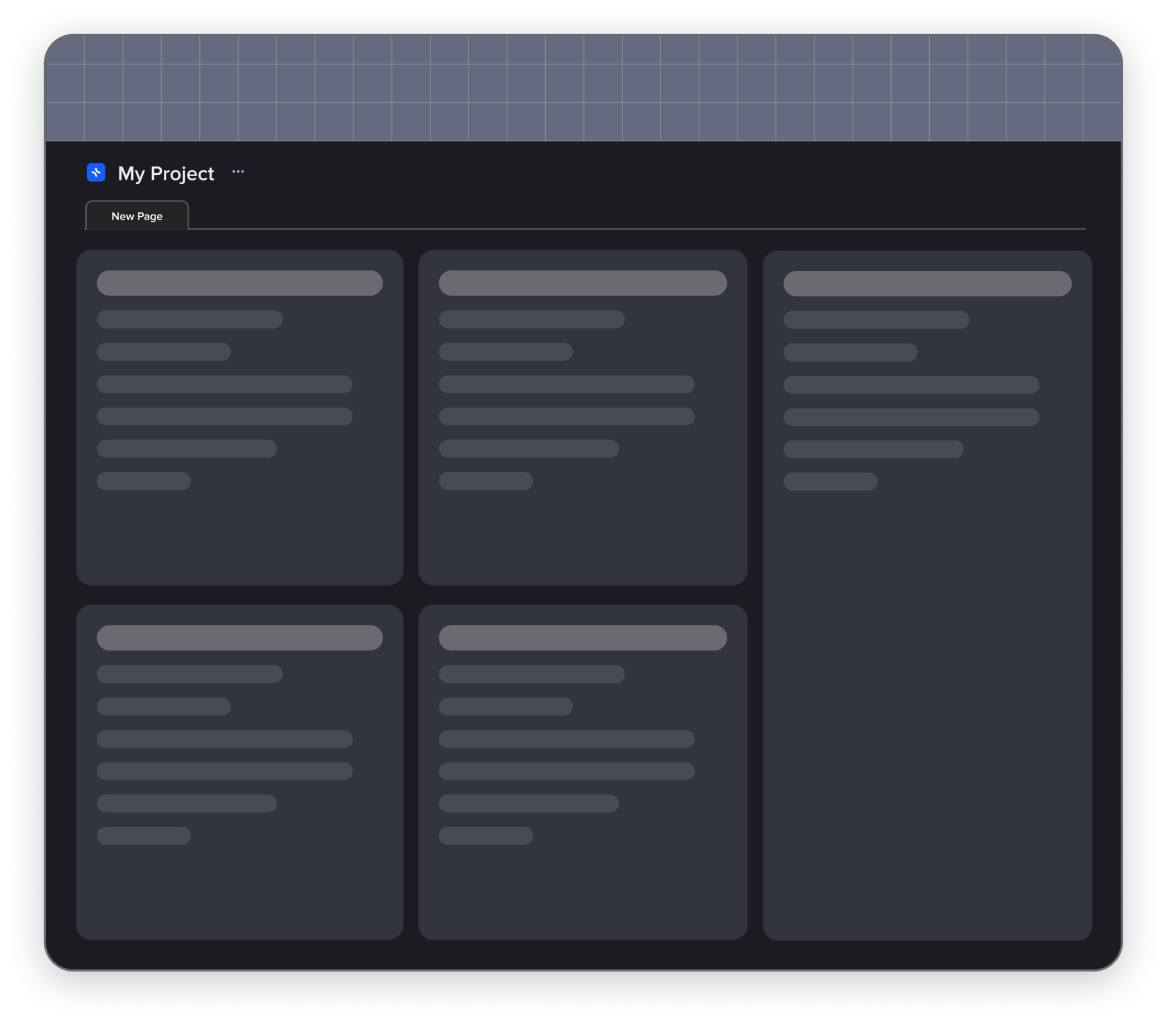
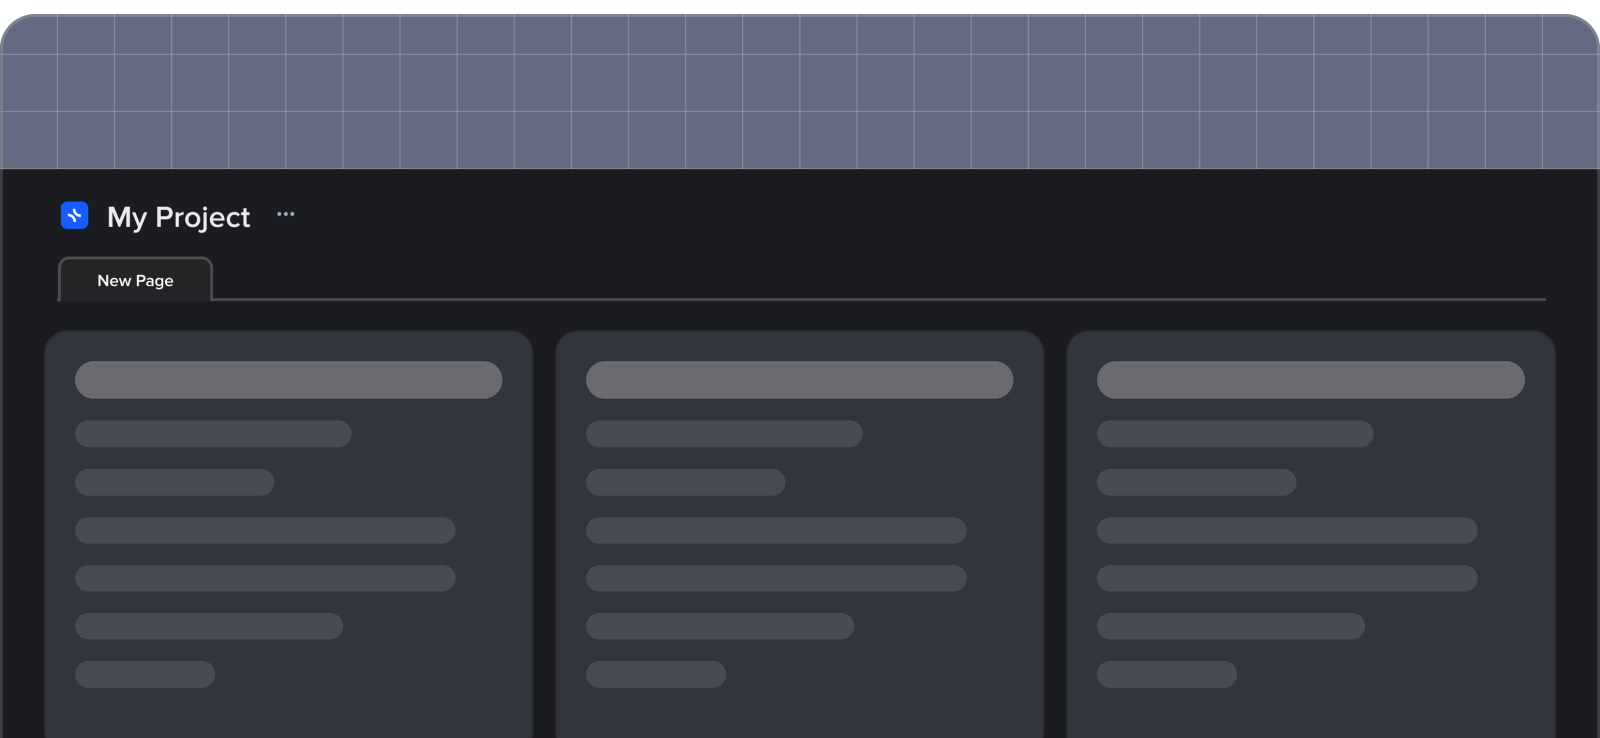
When you join xTiles, your first project is automatically created and saved in your “Personal workspaces” or in the project administrator’s space if you have been invited.
The xTiles structure
- Workspaces: virtual spaces that contain different projects;
- Projects: contained within workspaces, can vary in size and complexity;
- Pages: elements of a project that contain corresponding content. Each project can have multiple pages where users can add, organize, and edit content;
- “Page’s transclusion”: You can link pages from one document into another with full sync of content, also you can navigate through all linked documents of a page;
- Tiles: elements on a page used to display information. Tiles can contain both text and media content and are used to organize information on the page. They can be arranged in any order on the page and organized into groups for the user’s convenience;
- Sub-pages: pages located within another page (tile). For example, if a page has several sections, each section can have its own sub-page, which in its turn can have multiple pages and sub-pages;
- Block: is the fundamental element of a data structure that is used for creating and formatting various types of content, such as text, lists, tables, images, videos, code, and so on”;
- Expanded blocks: functionality that allows users to expand a block and provide more detailed information.
By default, each user has access to a workspace named “Personal”.
Workspace
To create your own workspace, follow these steps on the service main page:
- Click on the “plus” button to Create Workspace;
- Enter the name of your future workspace (it can be changed at any time);
- Click the “Create” button.
You will then be redirected to your newly created workspace.
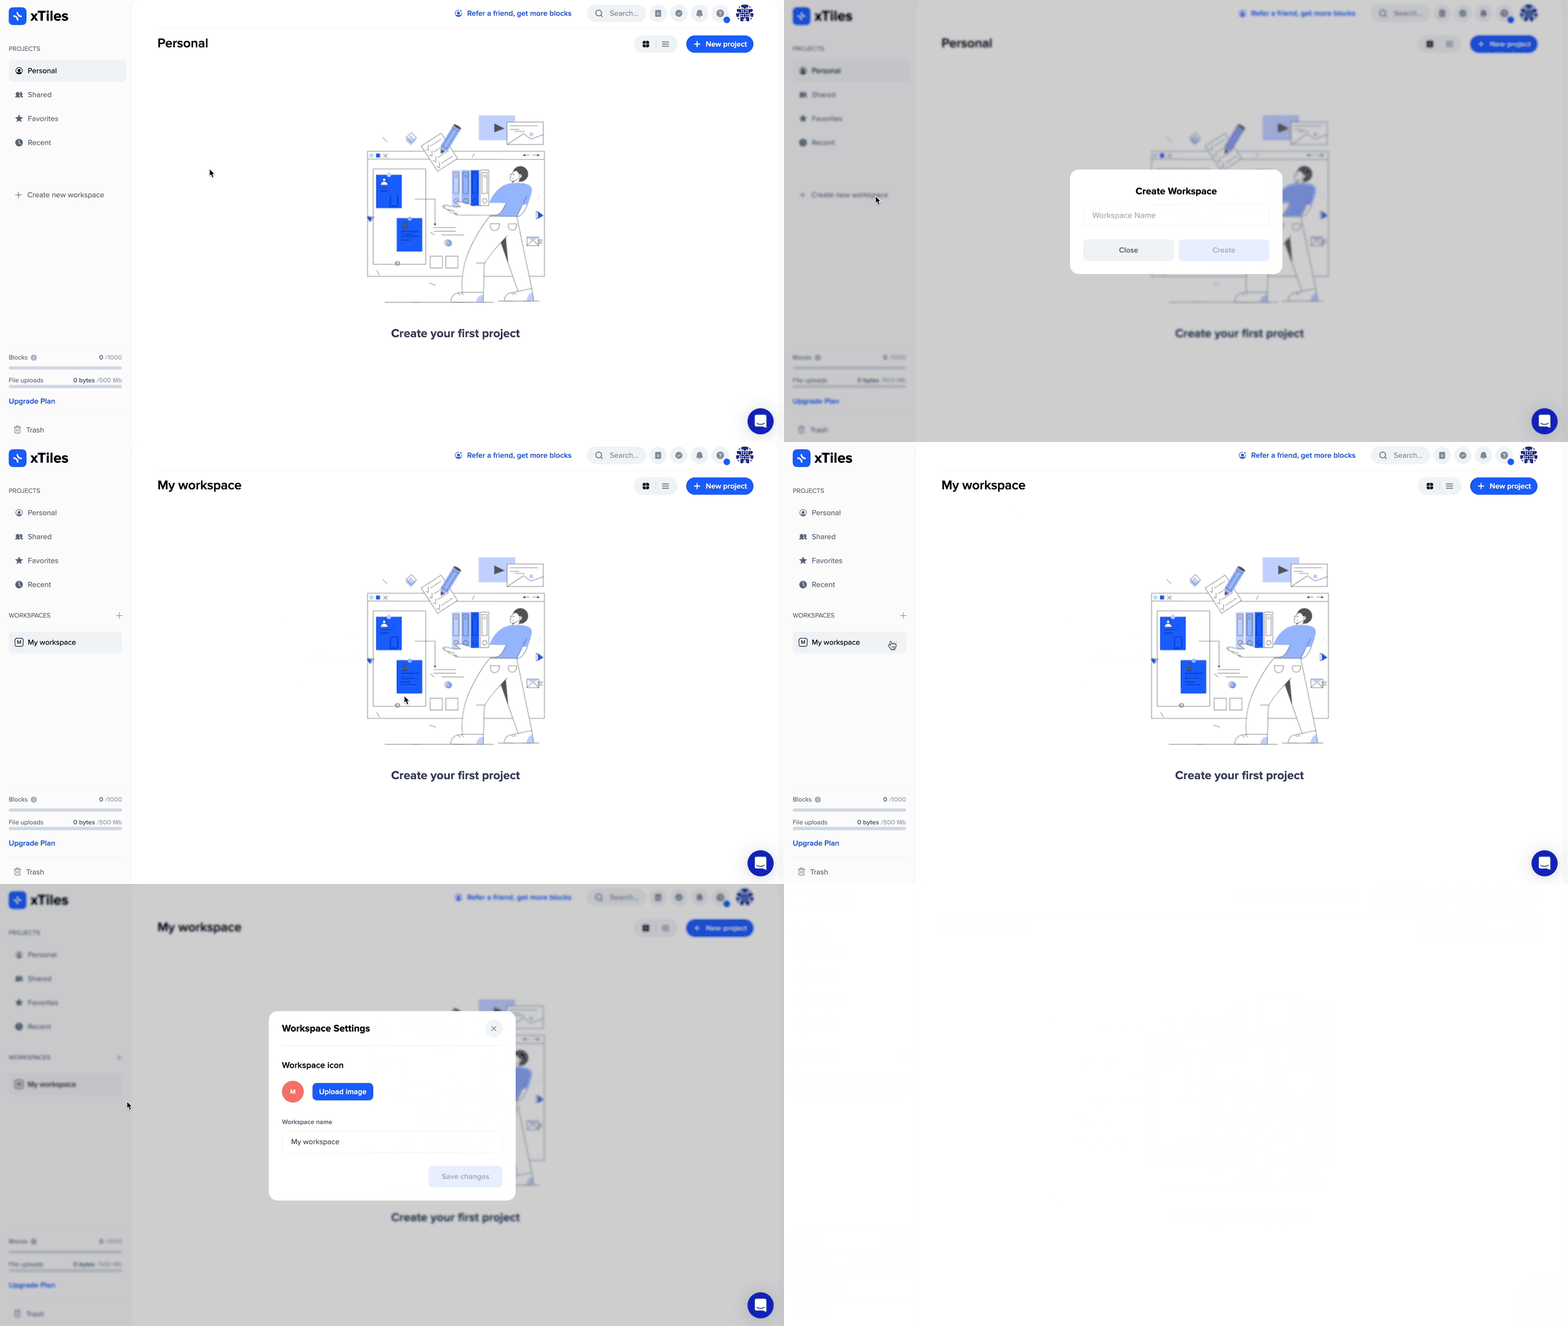
To delete your workspace:
- Click on “Workspace Settings” next to the name of your workspace;
- Click on the 🗑Delete button – Delete.
💡Note: When deleting a workspace, if it has projects, they will be placed in the trash.
Project
To create your own project, follow these steps:
- On your created workspace or on the default “Personal” workspace, click the “New Project” button;
- A project with one page named “untitled” will be automatically created;
- You can also open the template gallery from the project and apply any.
The project will be located in the workspace where it was created.
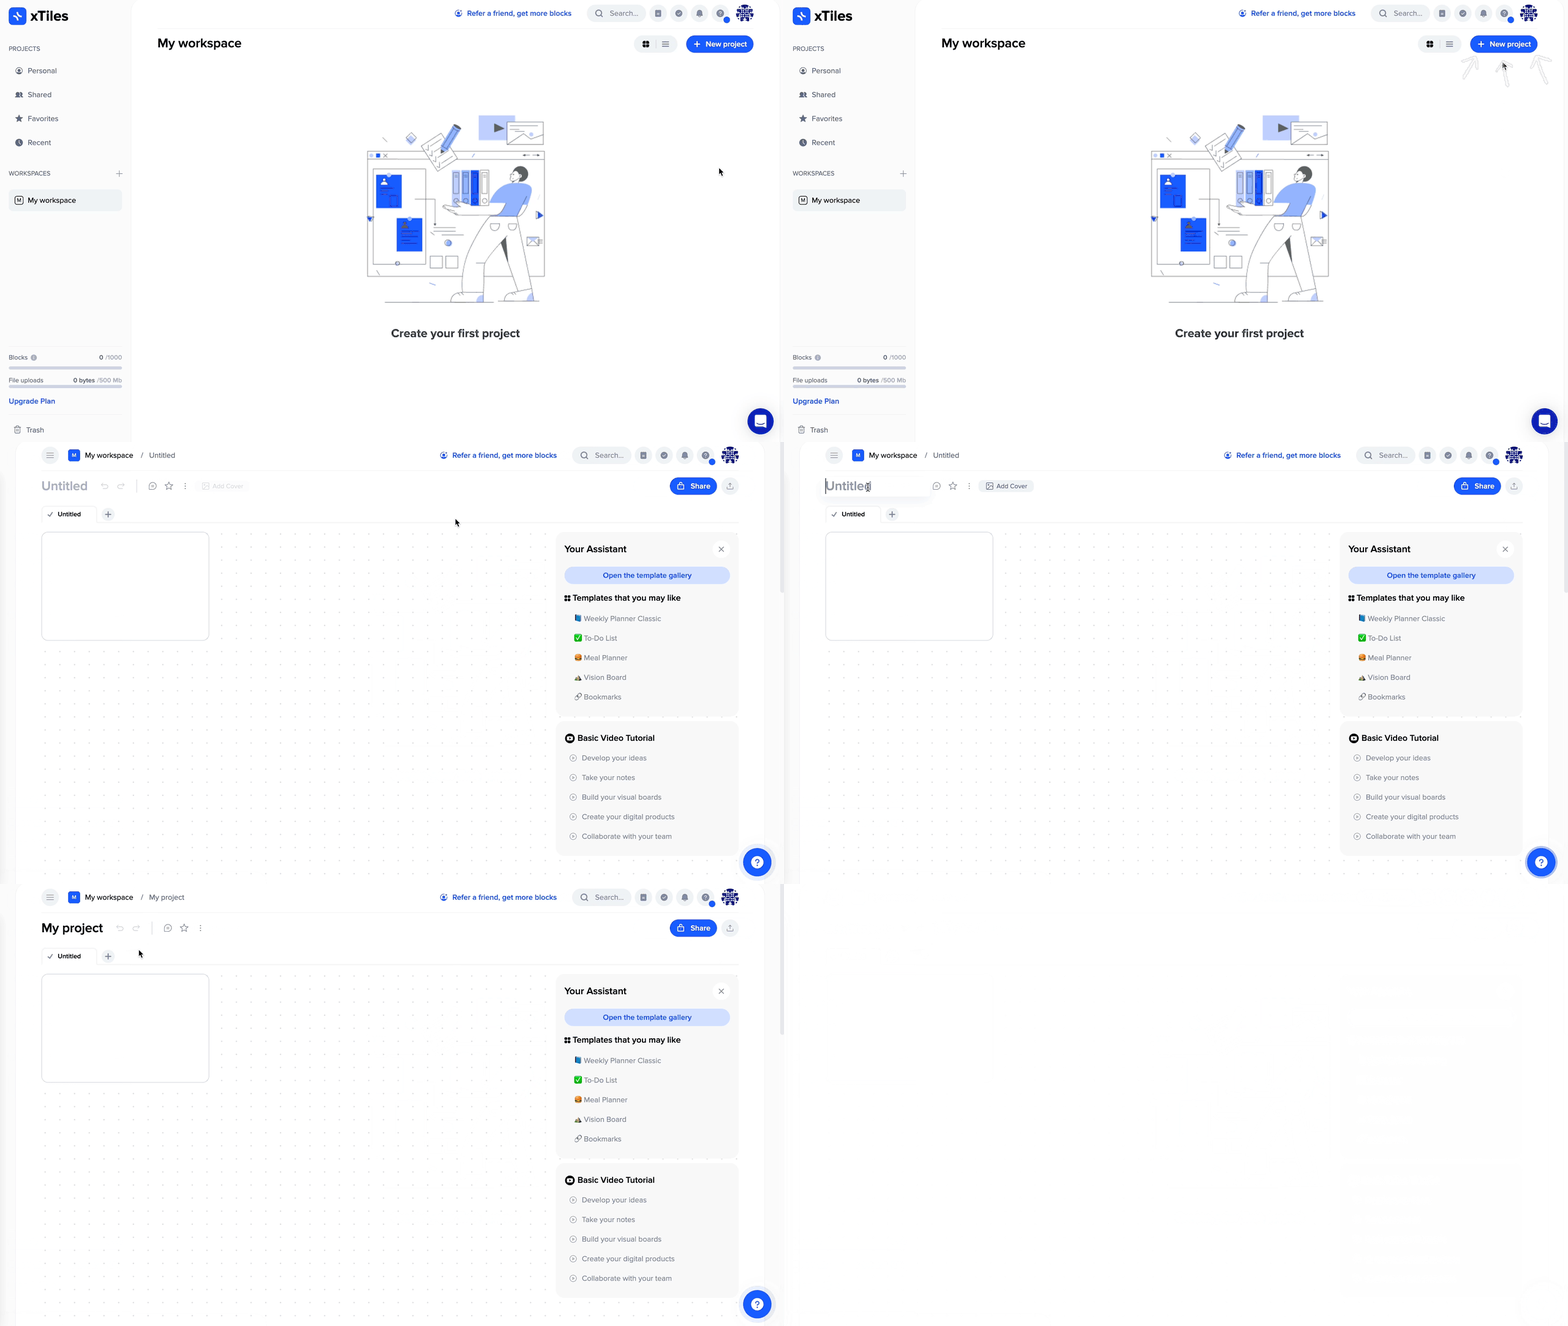
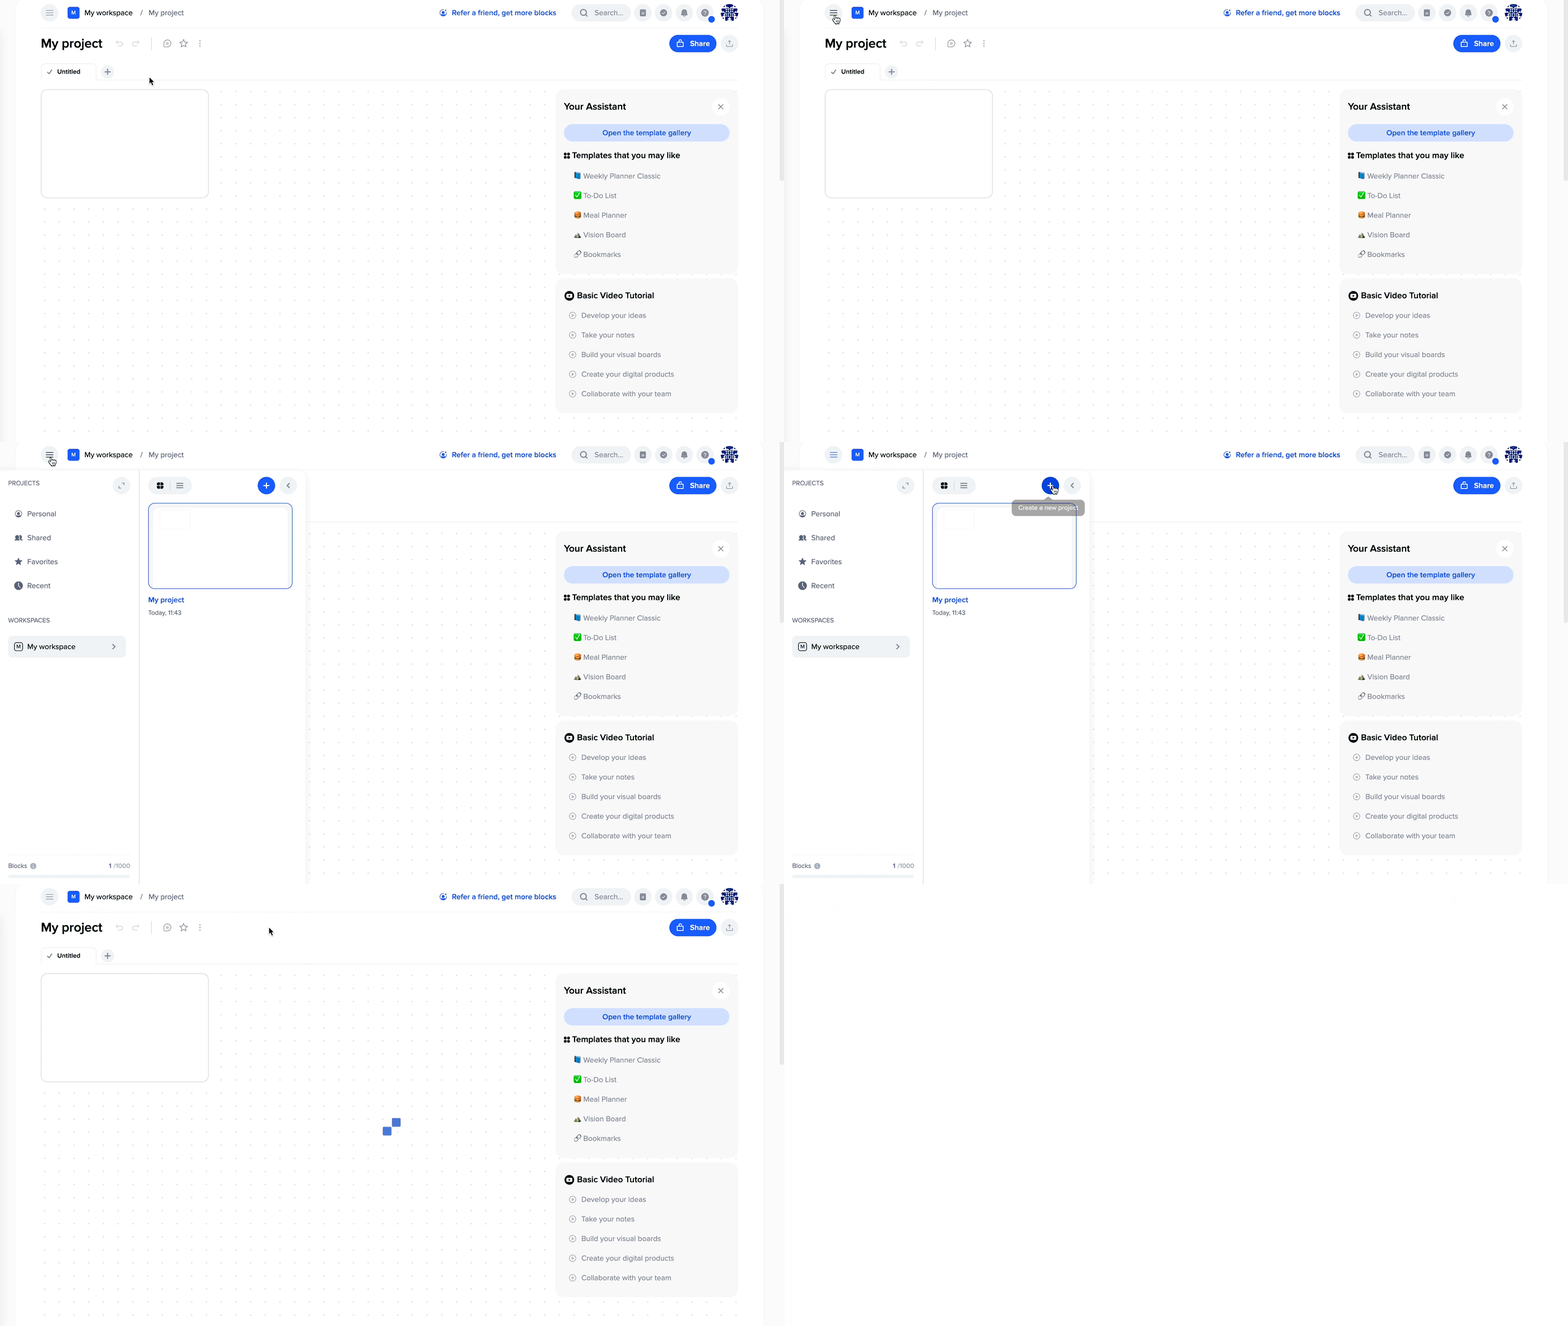
New projects can be created from the “Projects Navigation Panel” that is available on the opened project. You will be redirected to the newly created project.
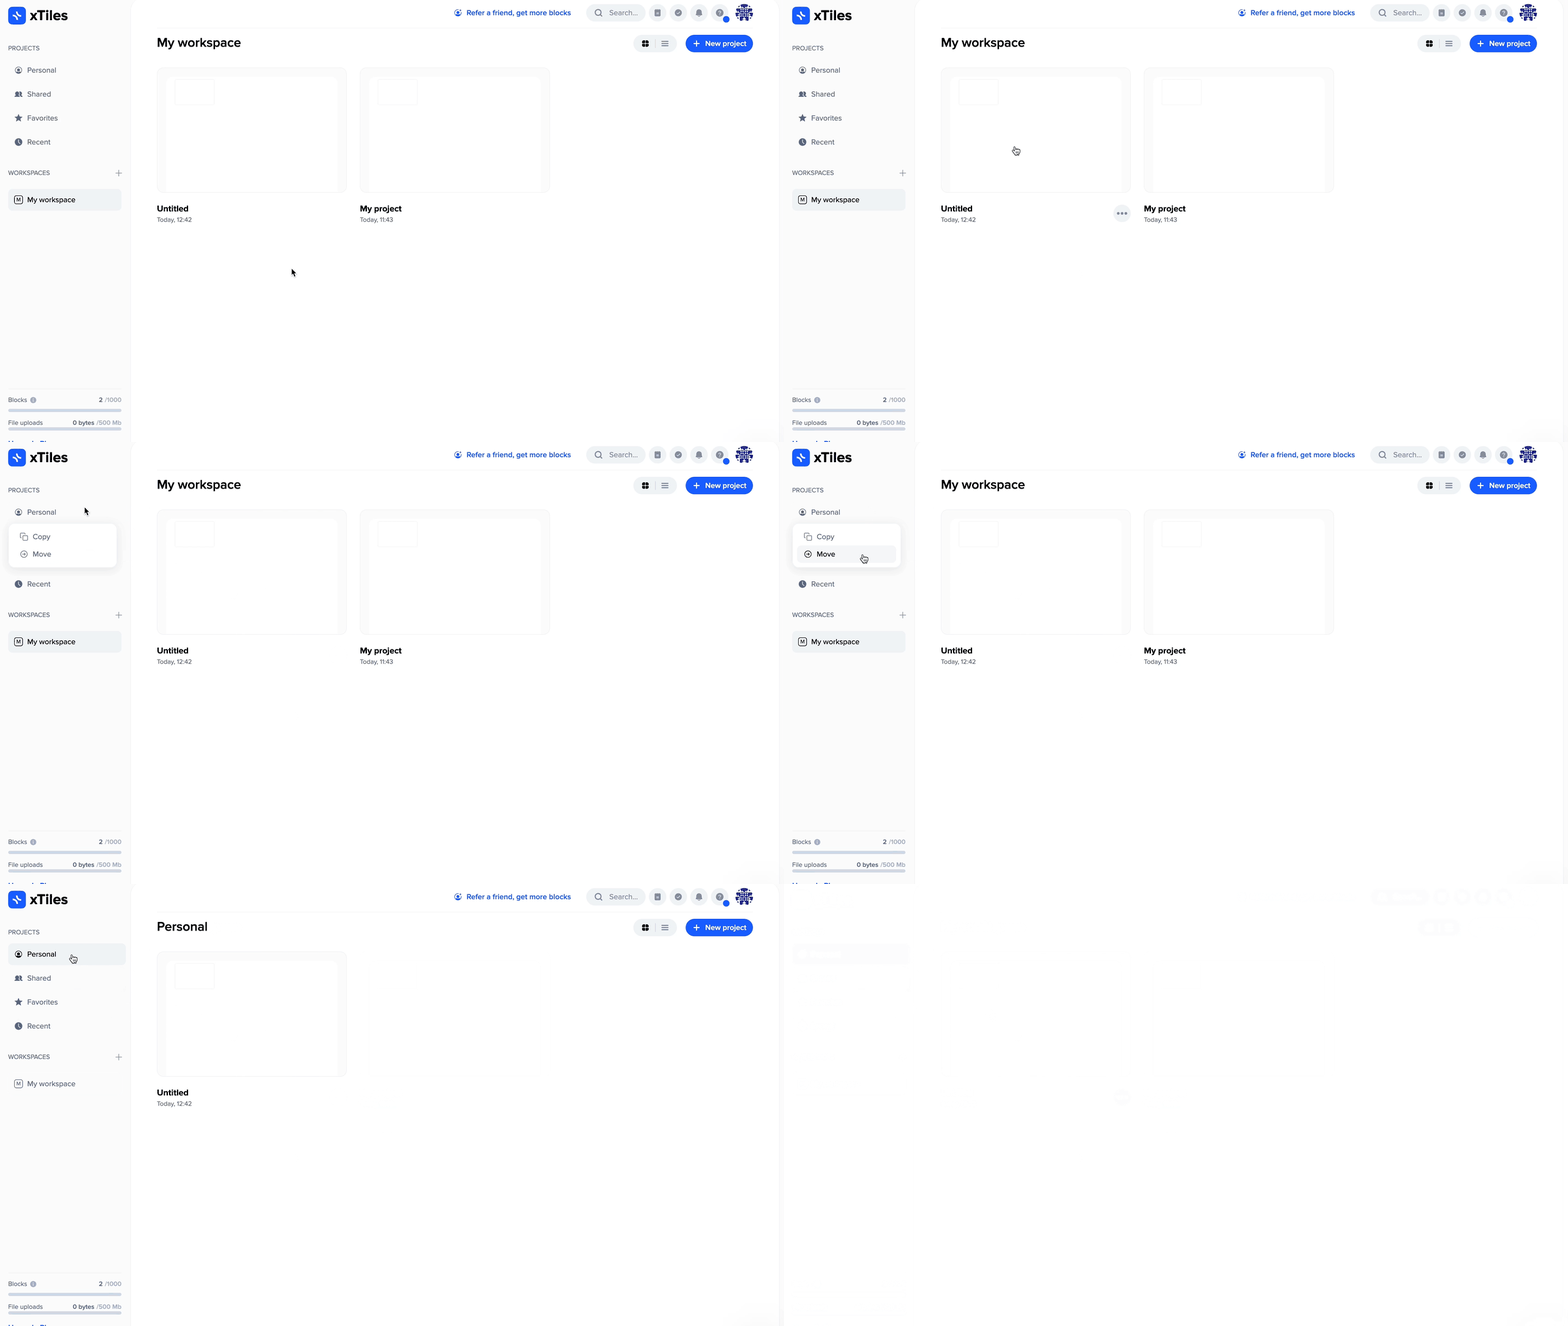
Projects can be easily moved between workspaces.
💡Note: New projects can be created from the “Projects Navigation Panel” that is available on the opened project. You will be redirected to the newly created project.
To delete your own project:
- Find the project you want to delete;
- Near the name of the project, press the menu of 3 points;
- Select “Delete”;
- Your project will be deleted. However, you can restore it simply by finding it in the Trash.
Page
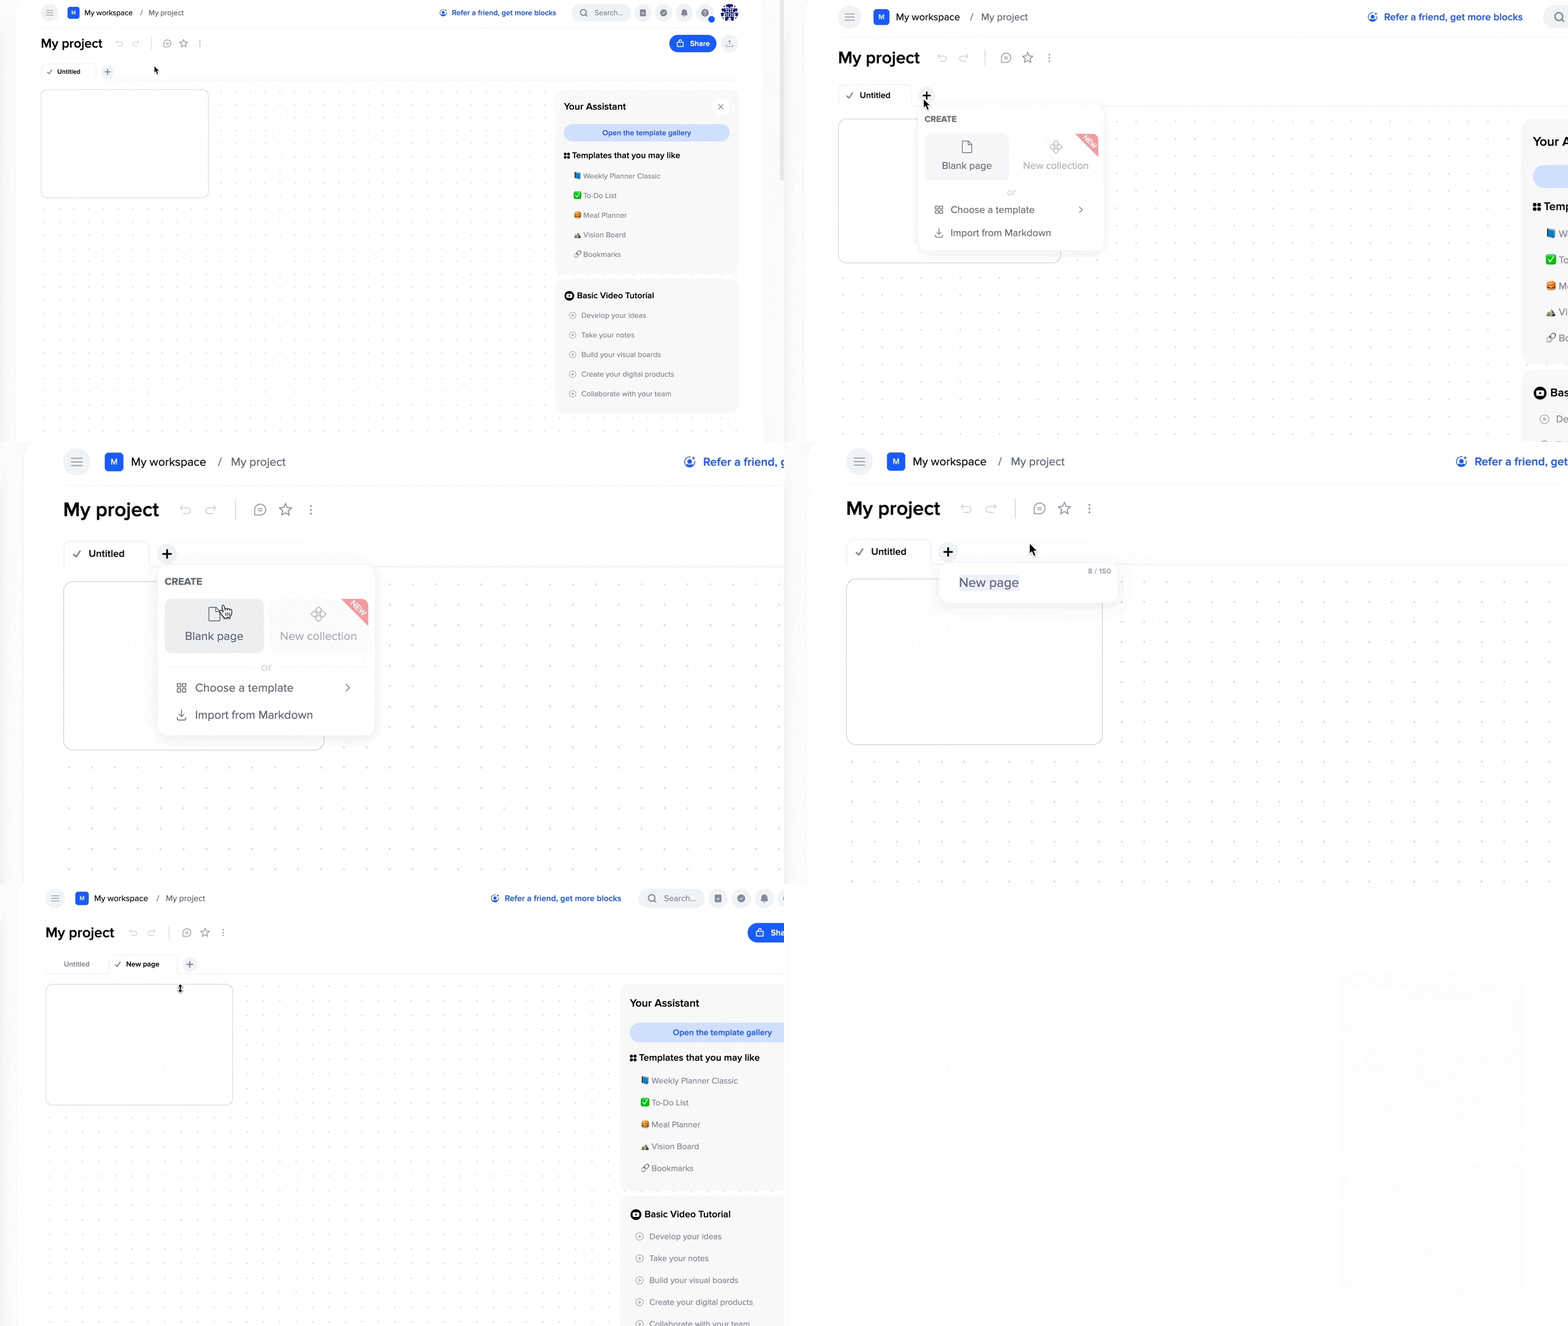
To create a new page in a project, follow these steps:
- Click on the “plus” button located next to the last page of the project;
- Click on the 📄”Blank page”;
- Enter the name of the future page and press “Enter” or click outside the window with the mouse.
The page will be created, and you will be redirected to it.
Pages can be interacted with: change their order, set color, change names, duplicate, and copy.
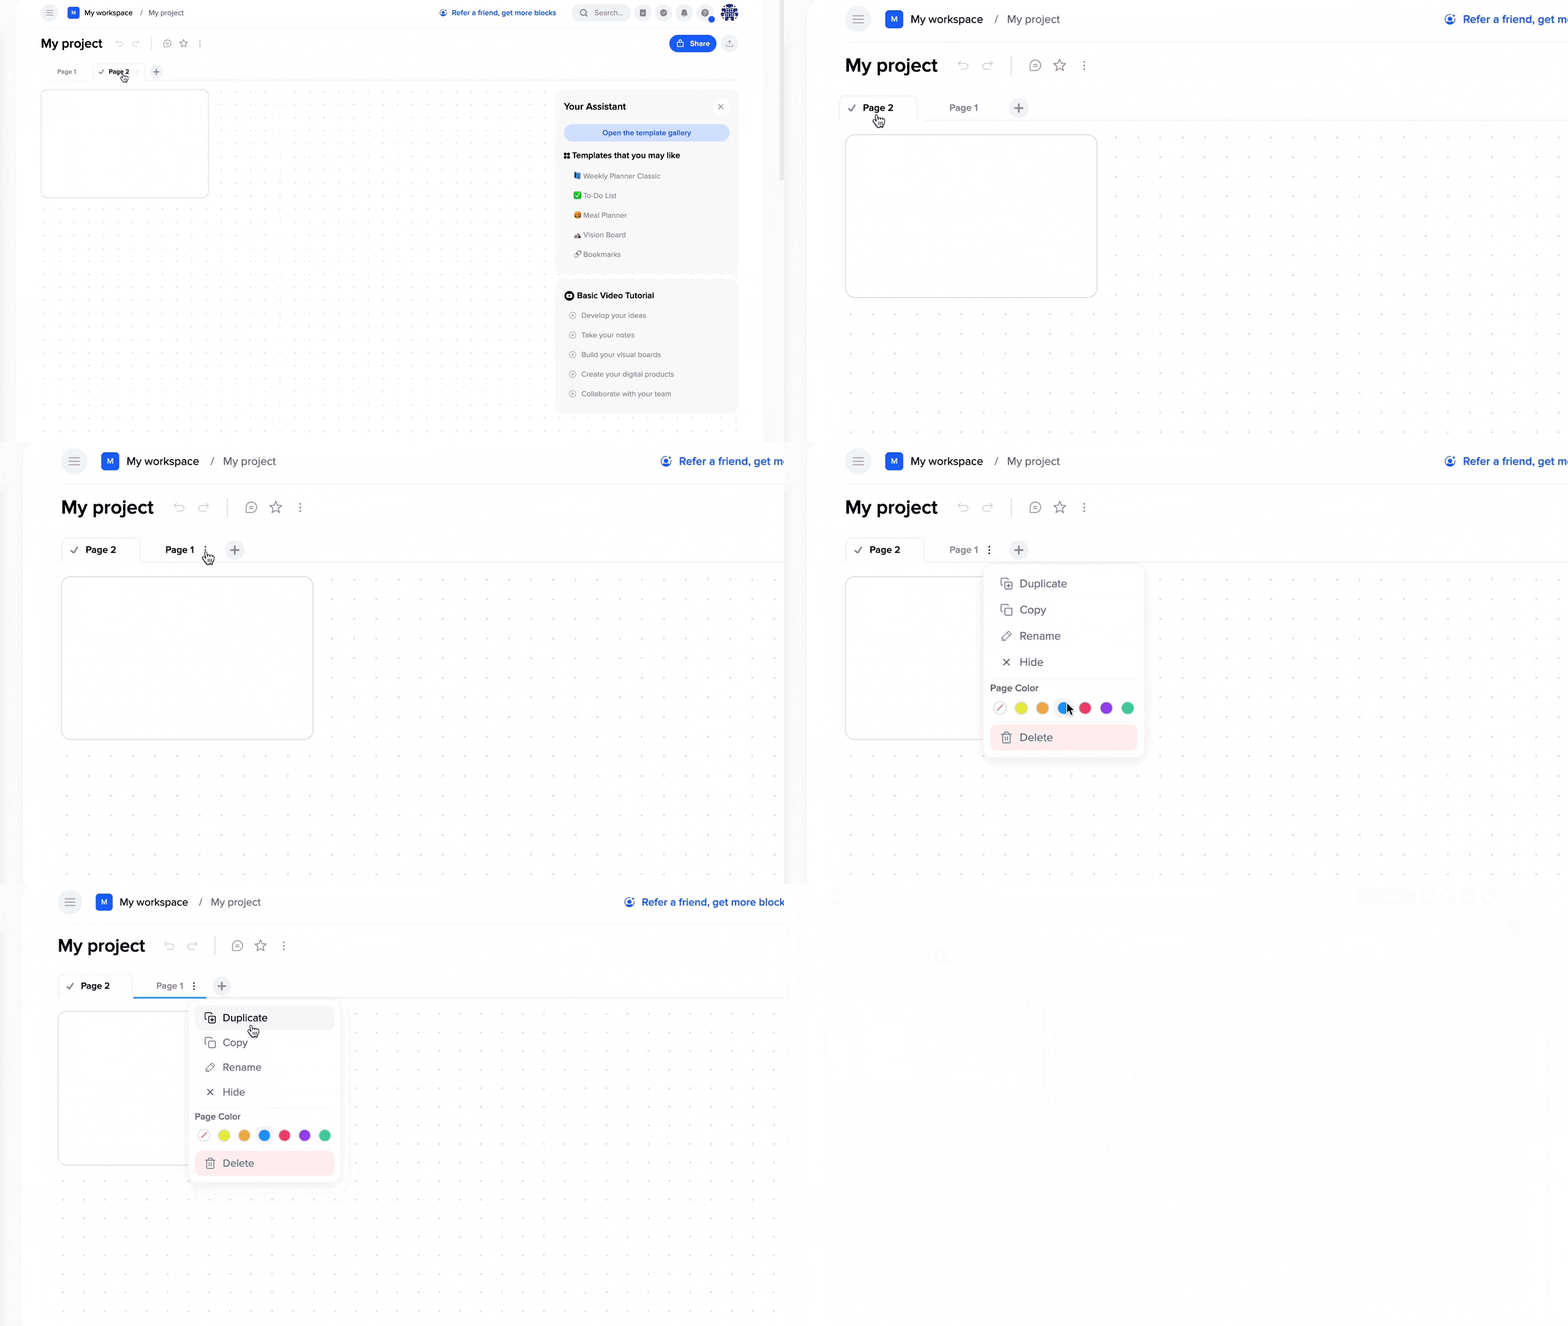
To delete a page:
- Click on the menu of 3 points near the name of your page;
- Delete your page.
💡Note: After deletion, you can always restore the page by finding it in the 🗑Trash bin on the workspace page.
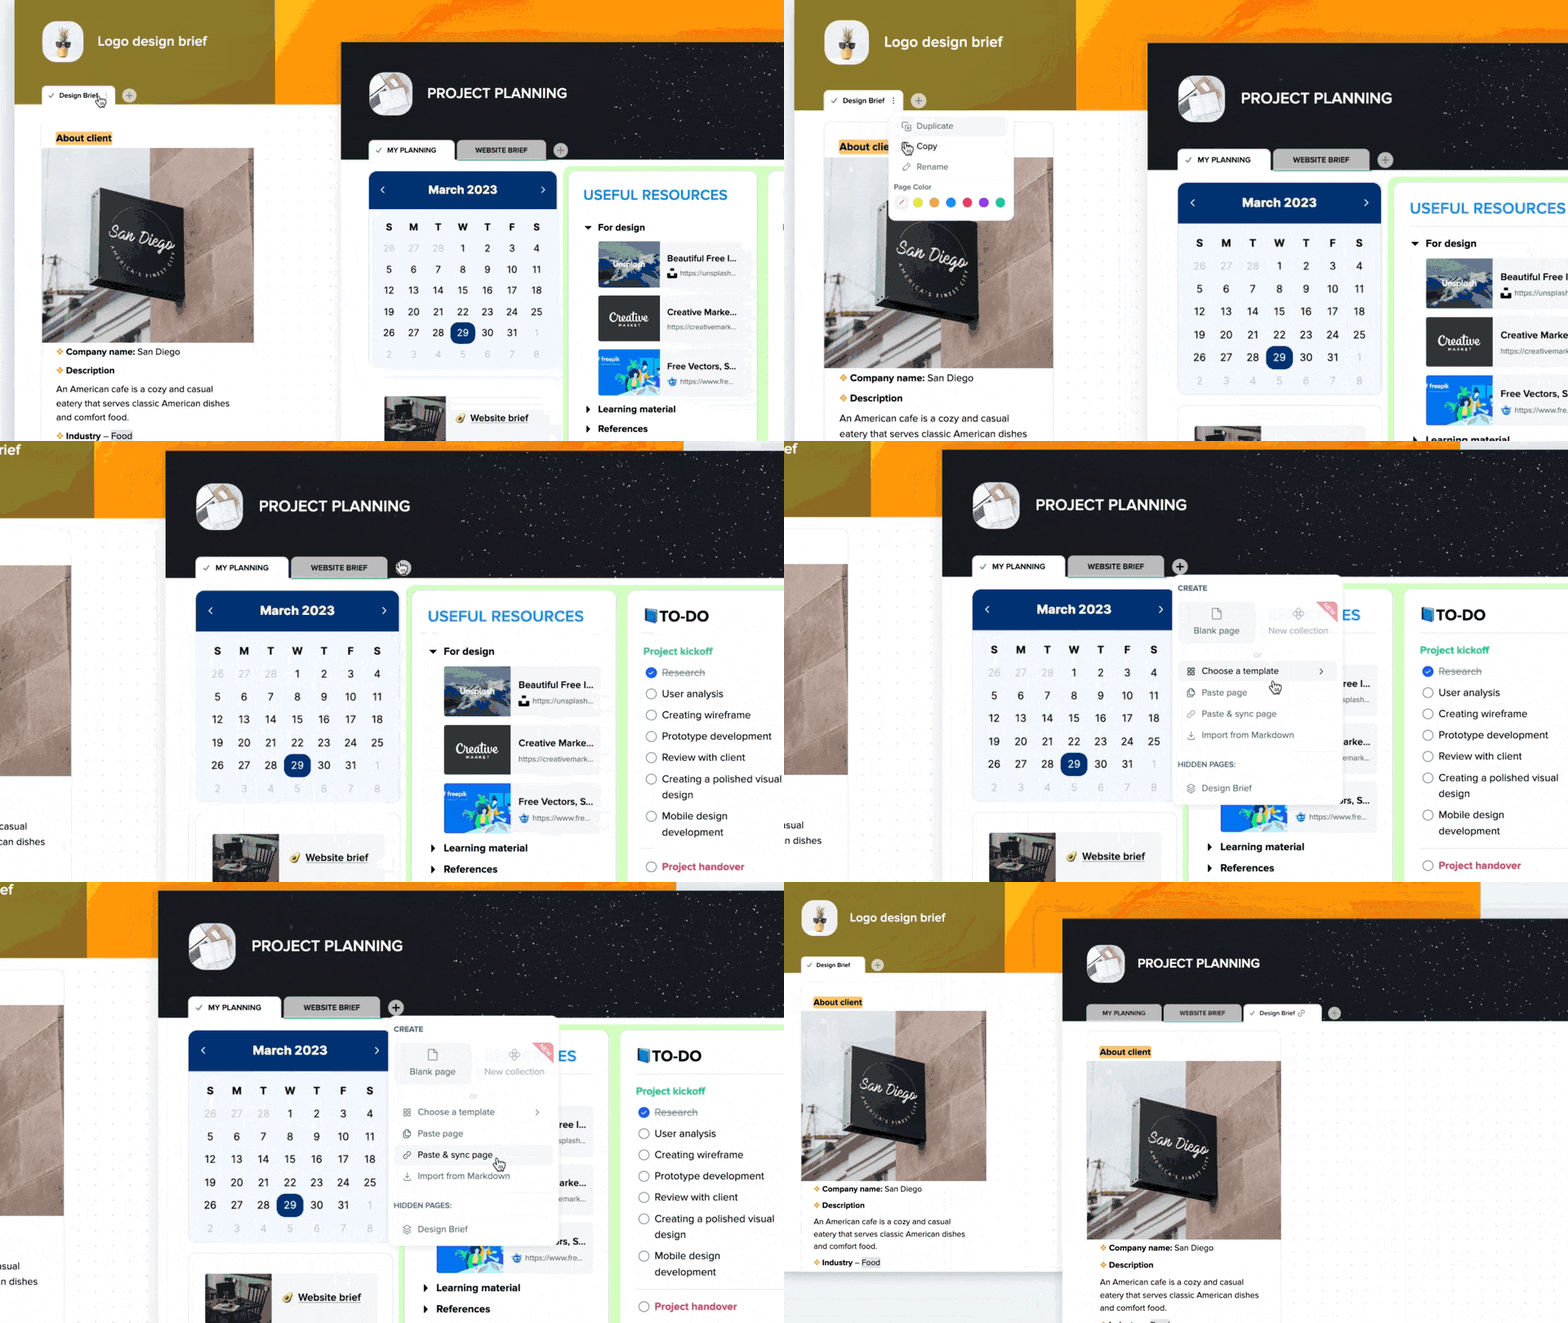
Page’s transclusion
You can link pages from one document into another with full sync of content, also you can navigate through all linked documents of a page.
Tile
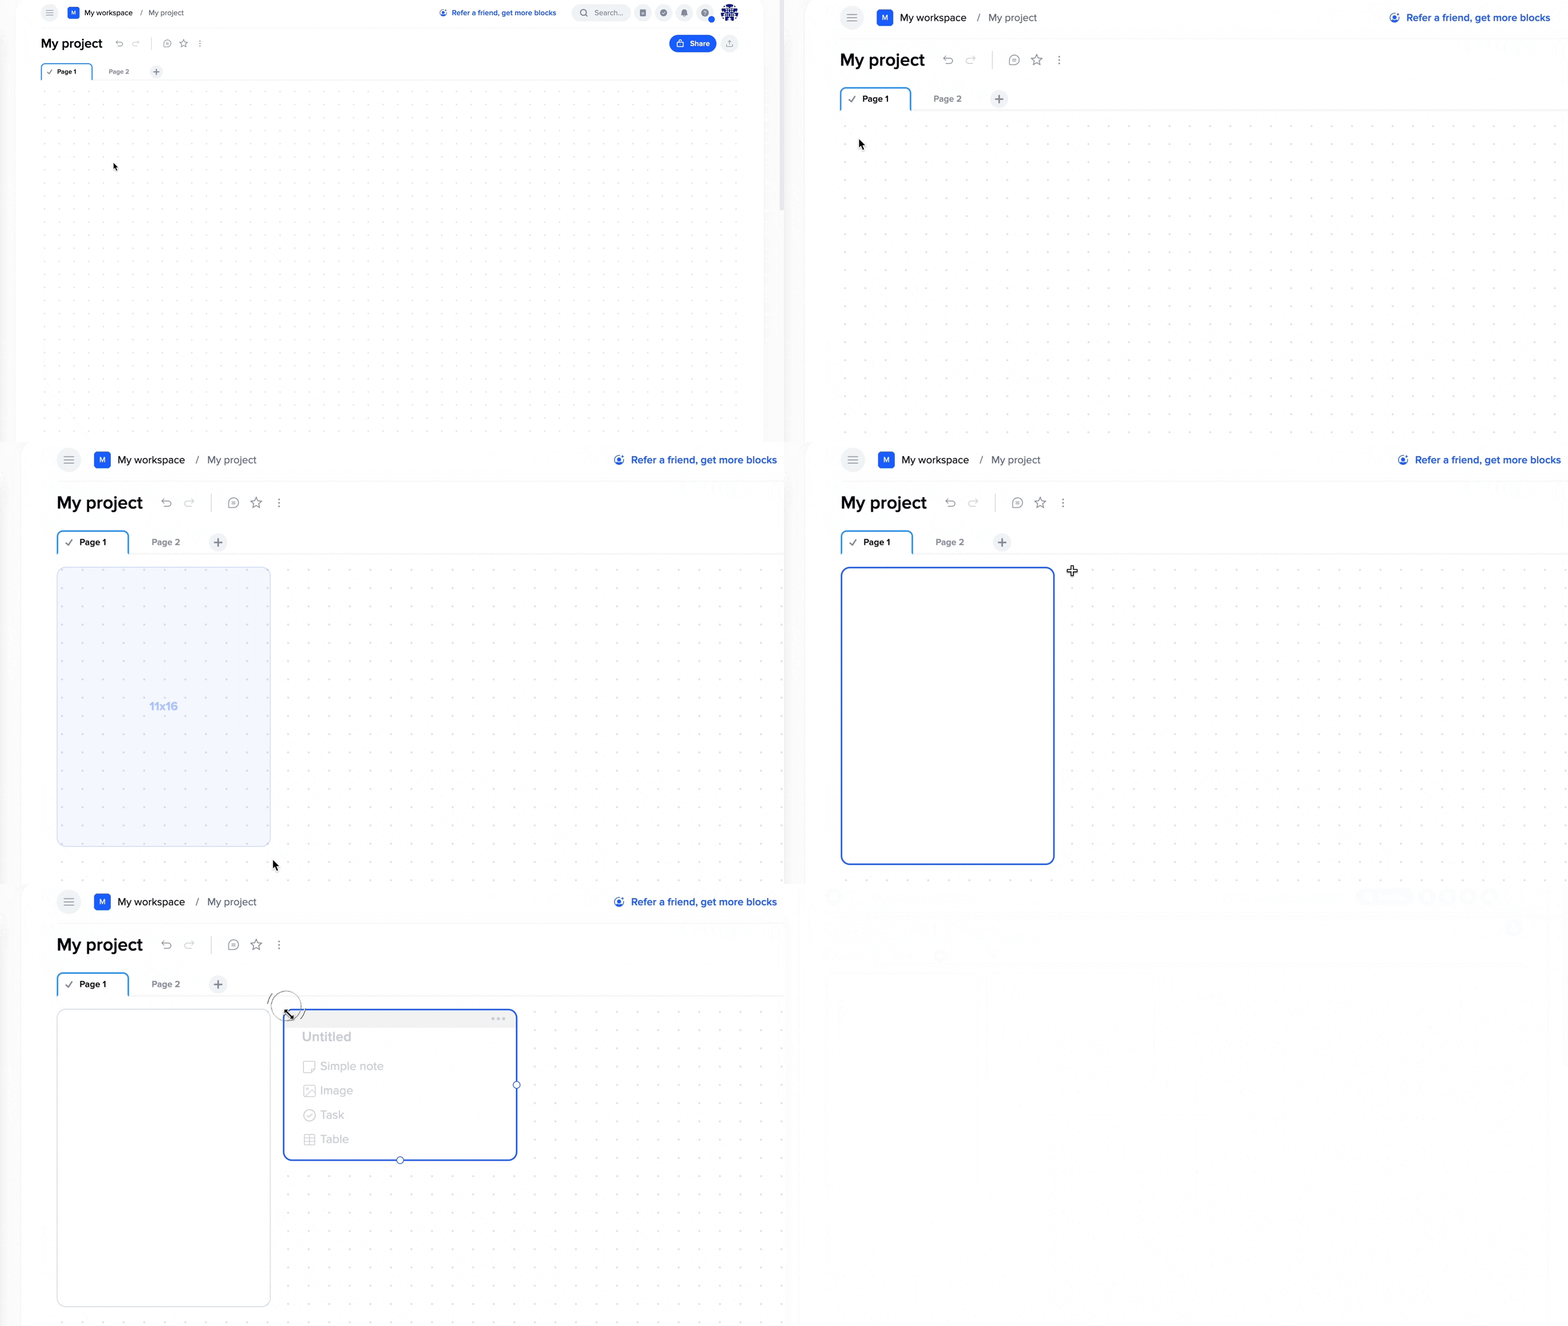
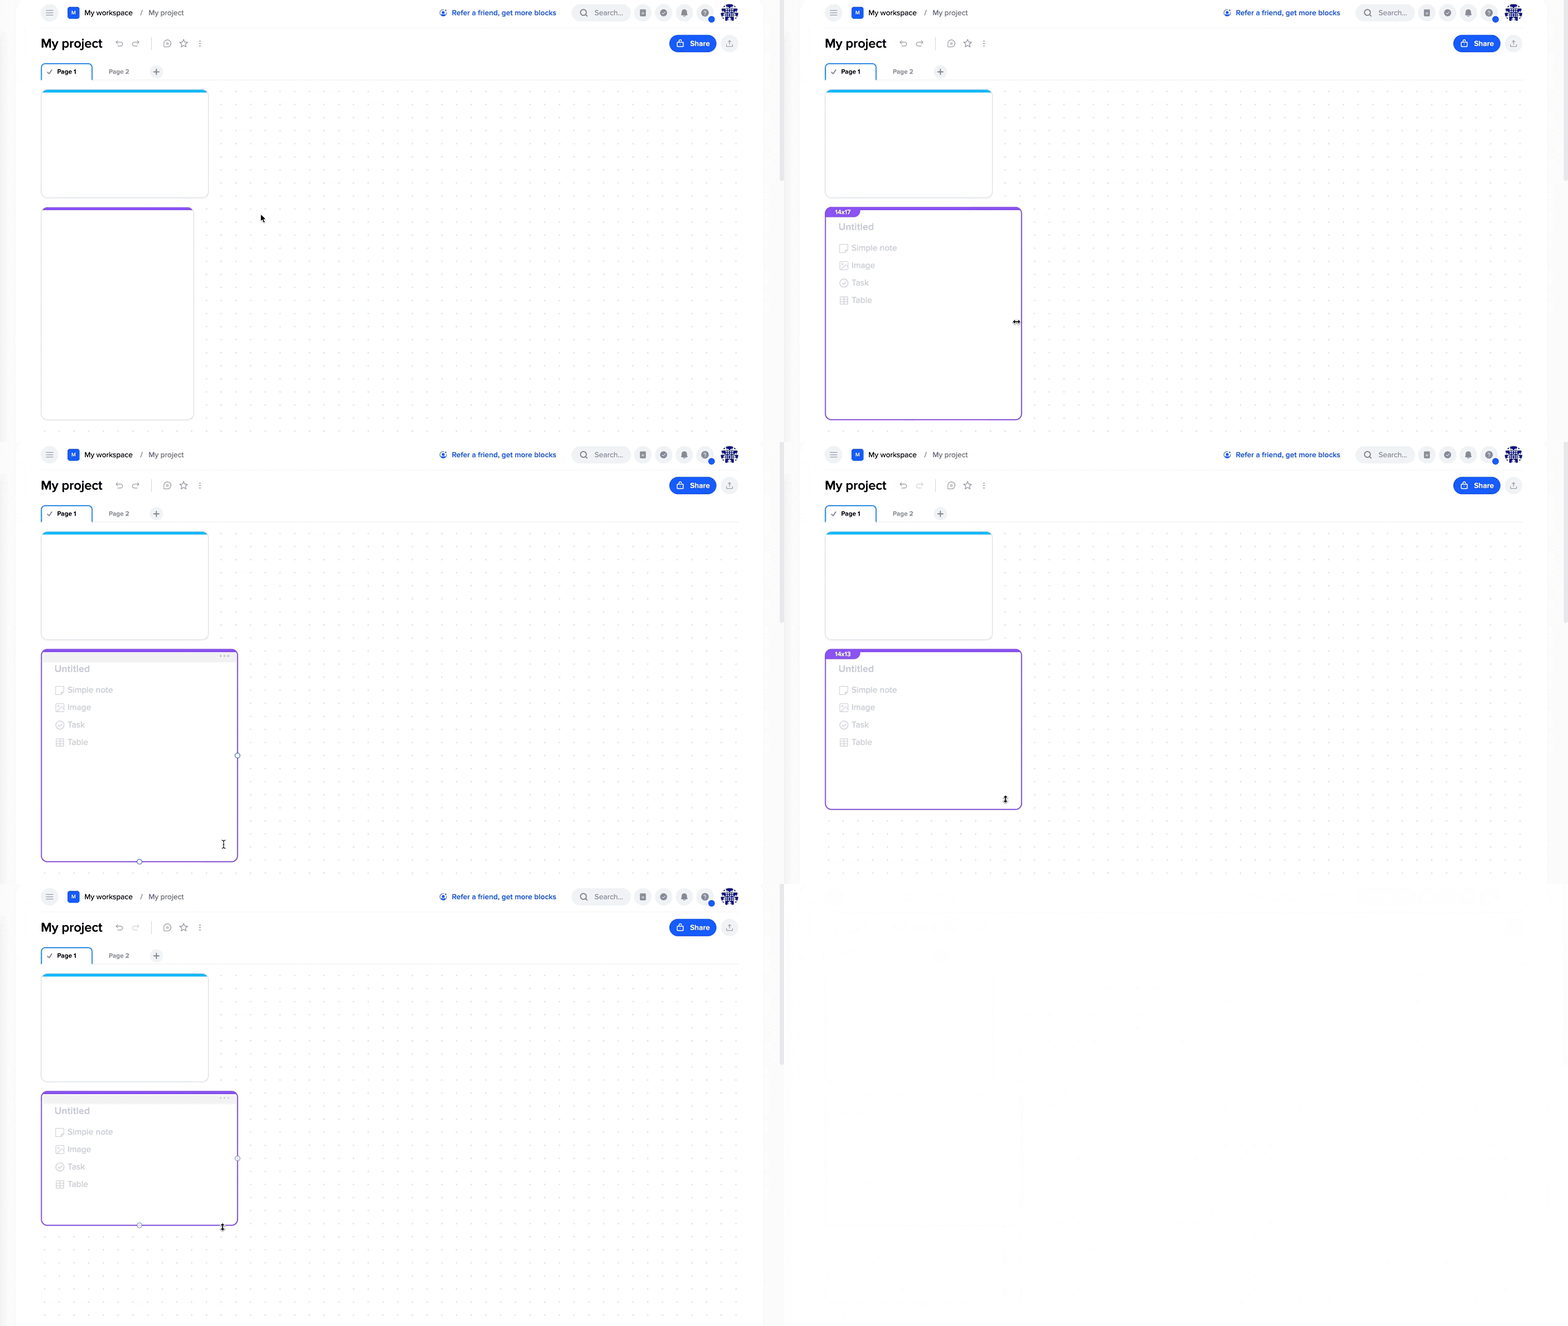
To create a tile on the page, follow these steps:
- Click and drag on the canvas to create a tile of any size;
- Double-click on the canvas to create a tile of standard size.
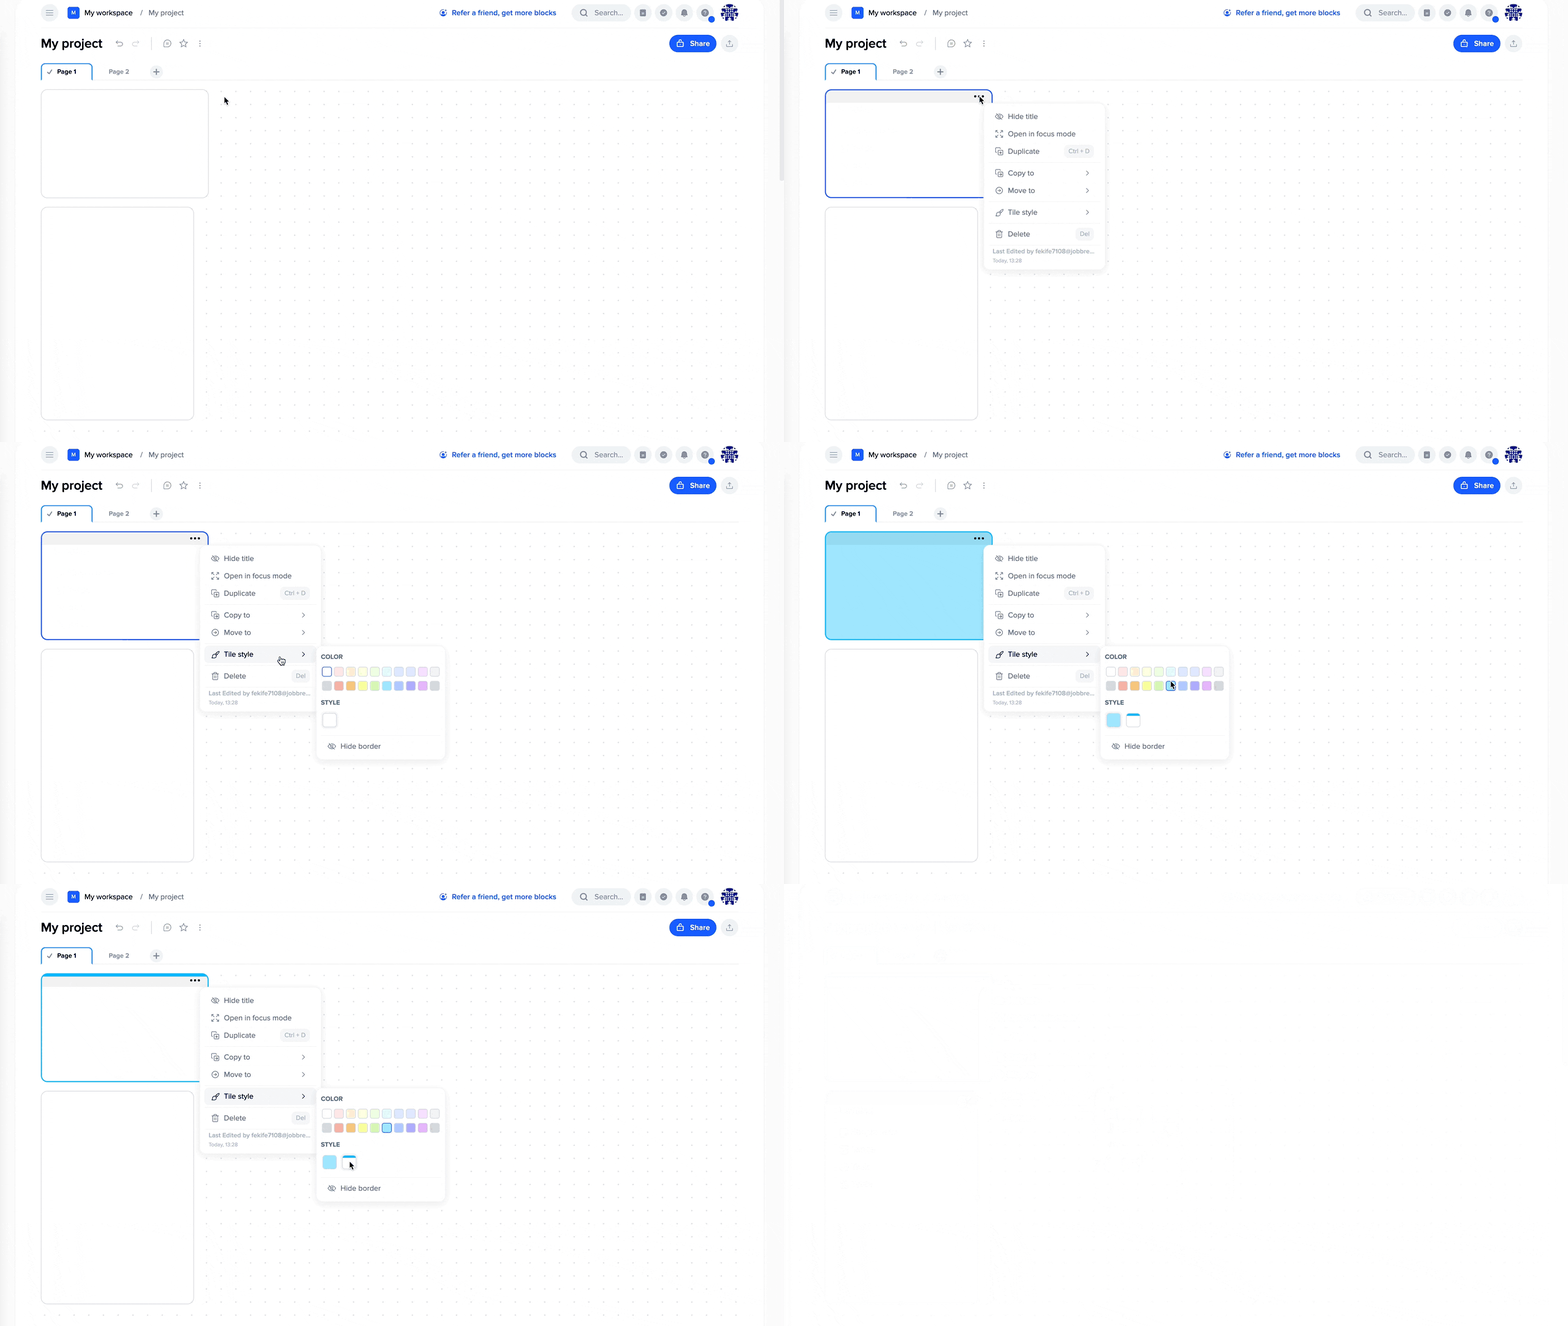
Additionally, at any time, you can adjust the tile size, set the background color, and easily move it around the canvas.
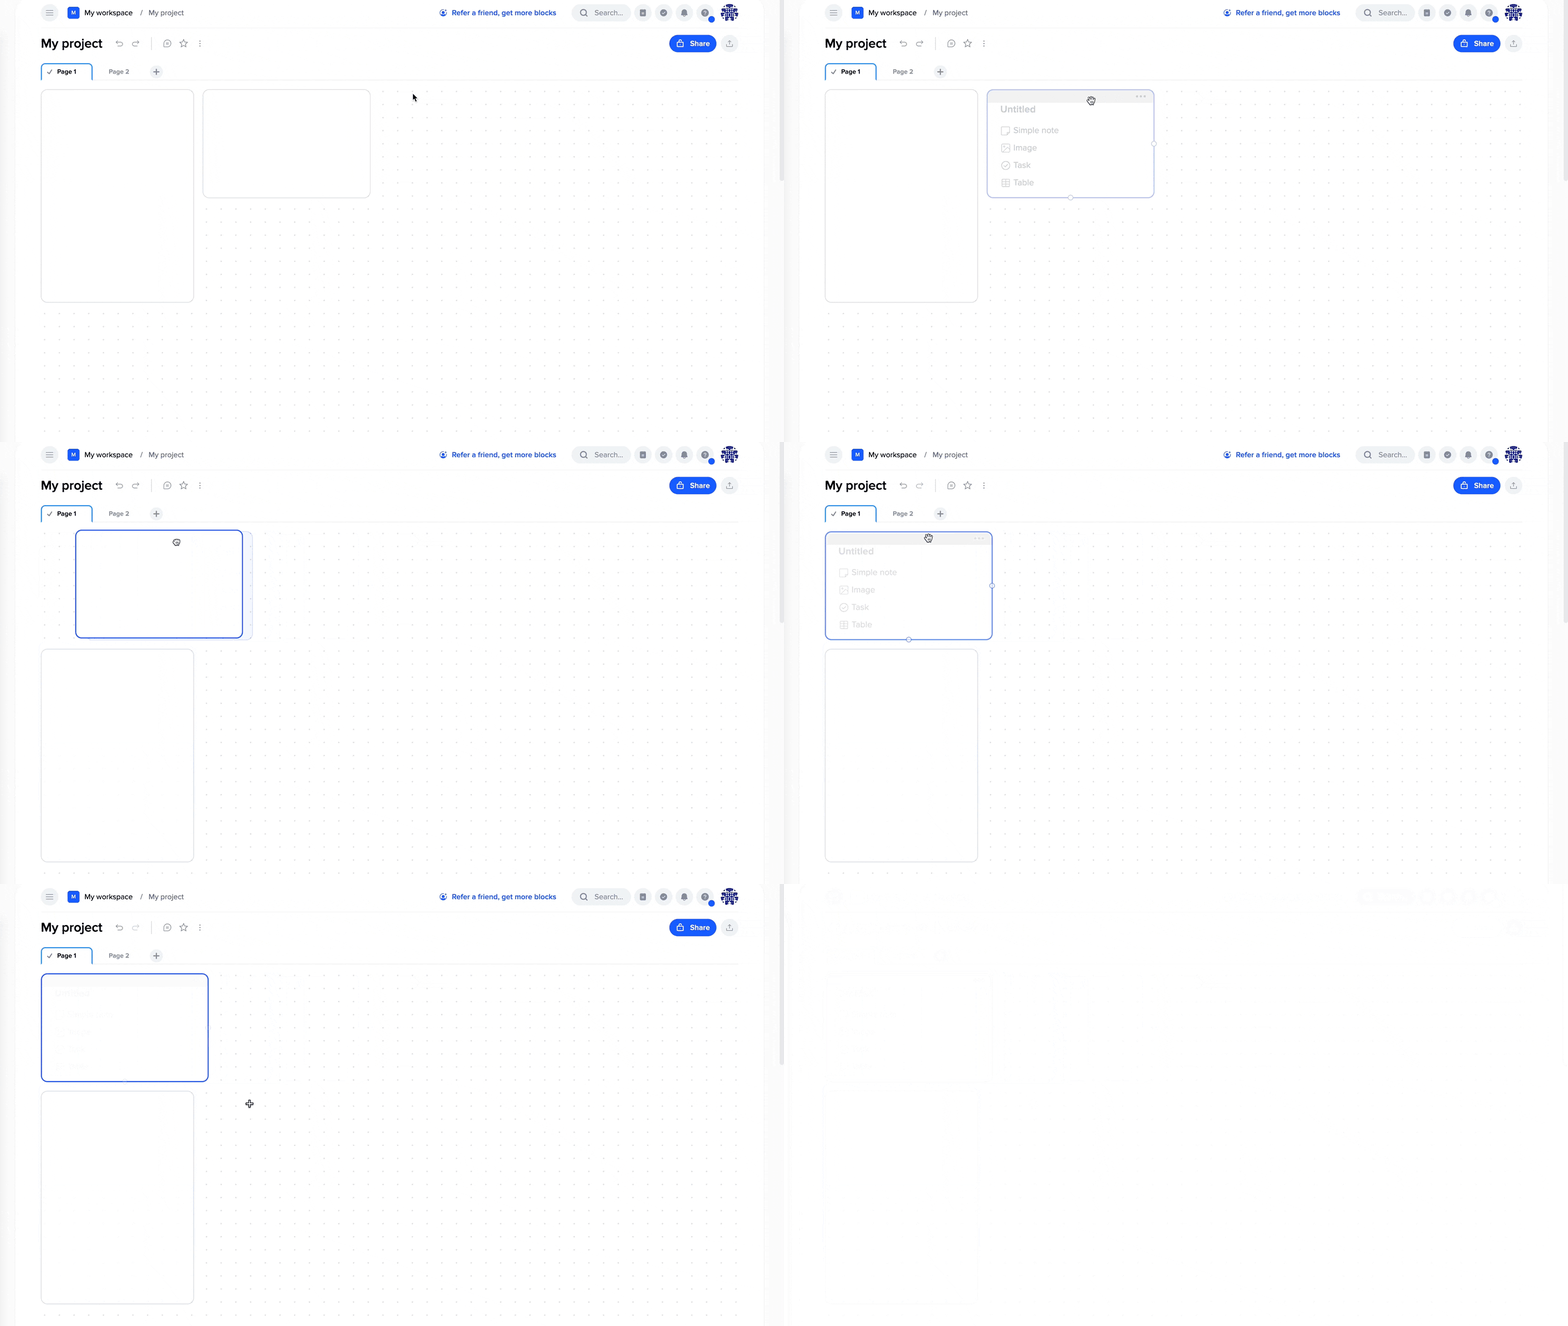
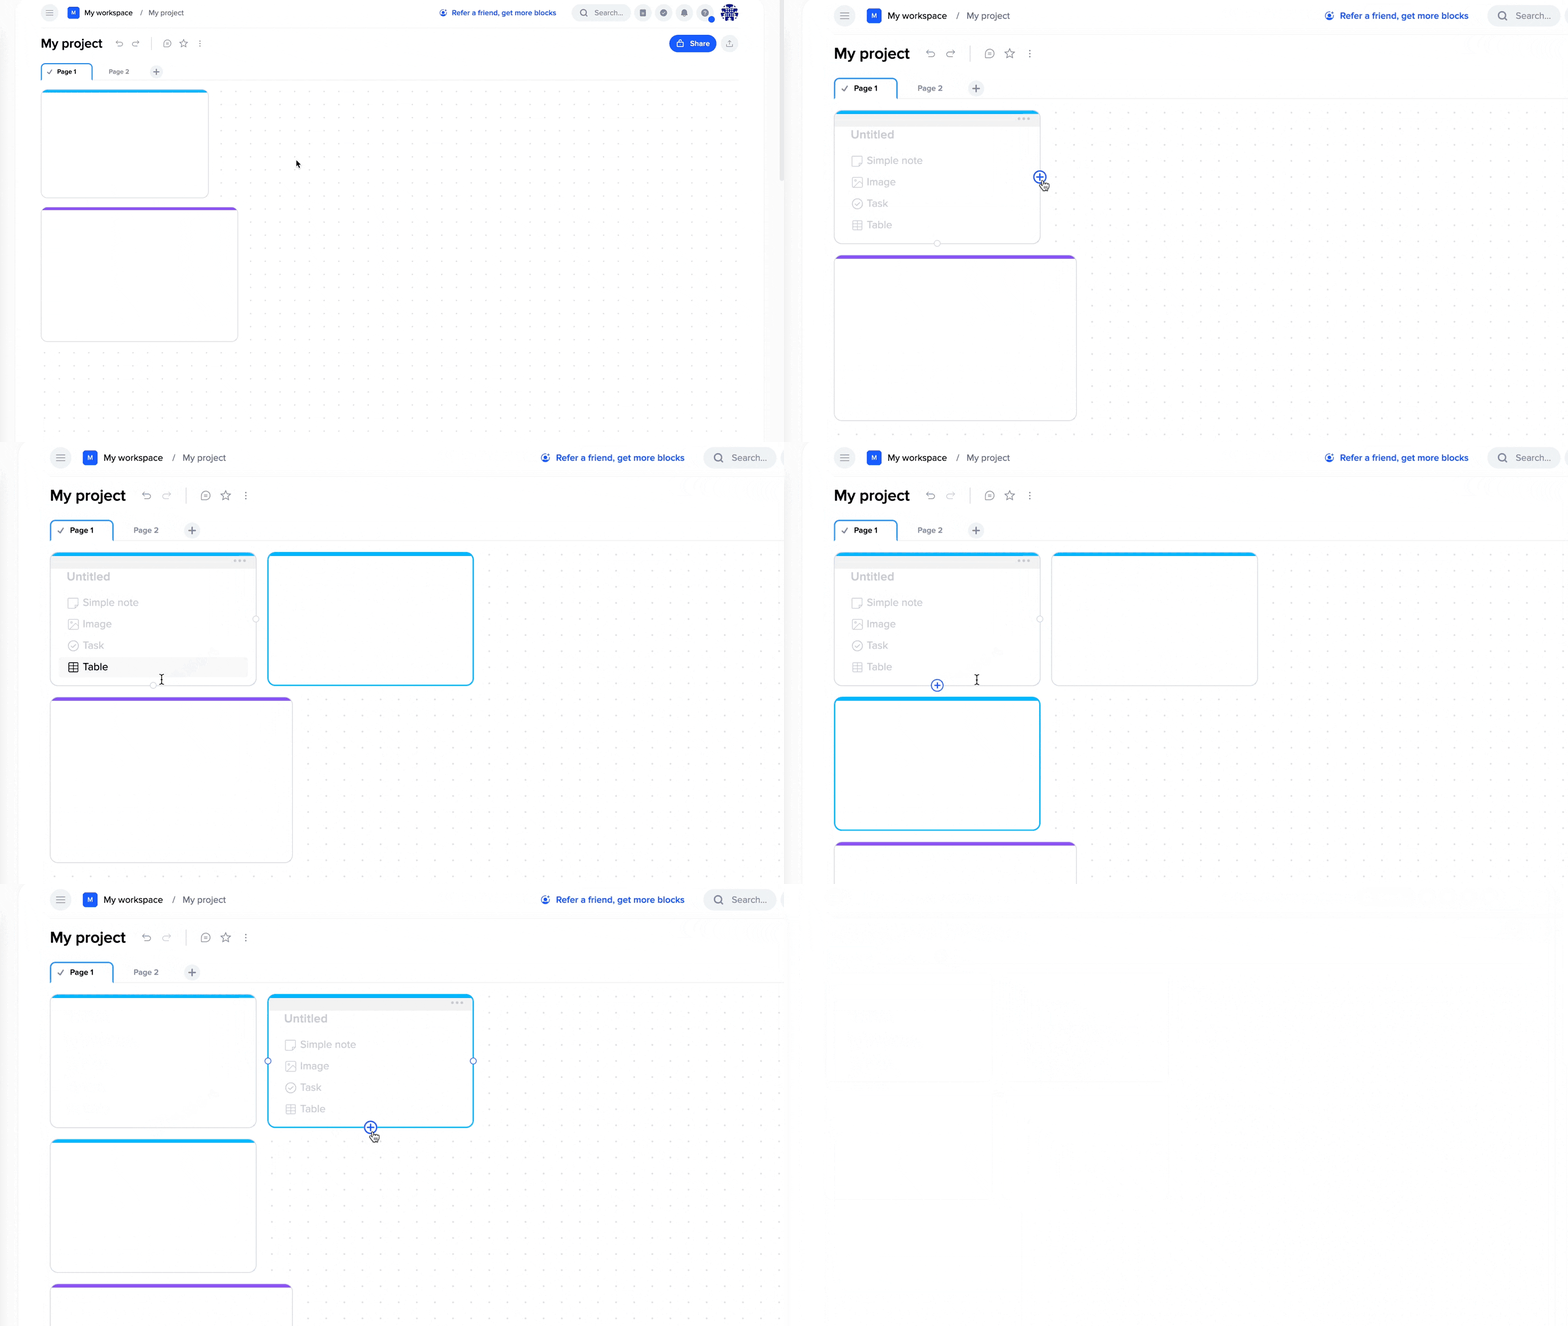
It is also possible to create a duplicate tile in one click using the “+” button on the border of an existing tile on the canvas.
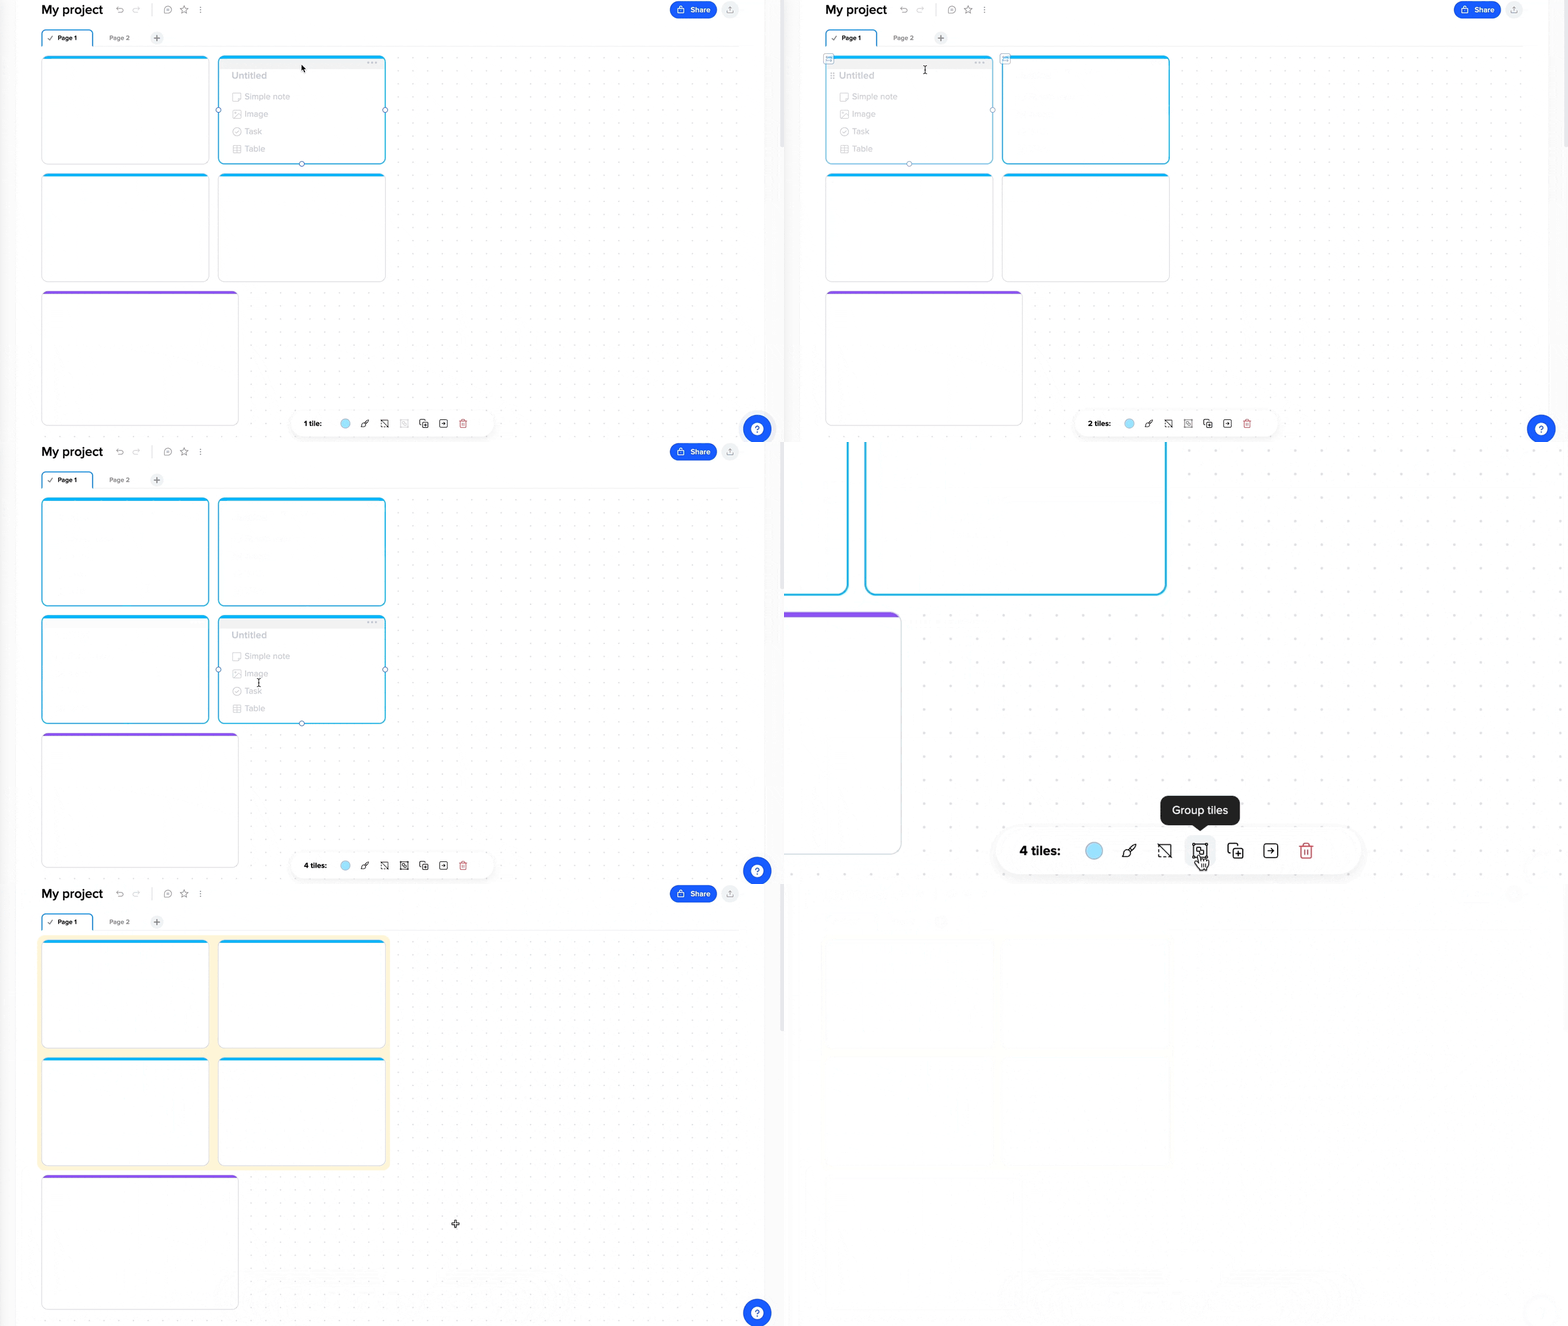
Thanks to the grouping function, you can easily visually group tiles based on their content.
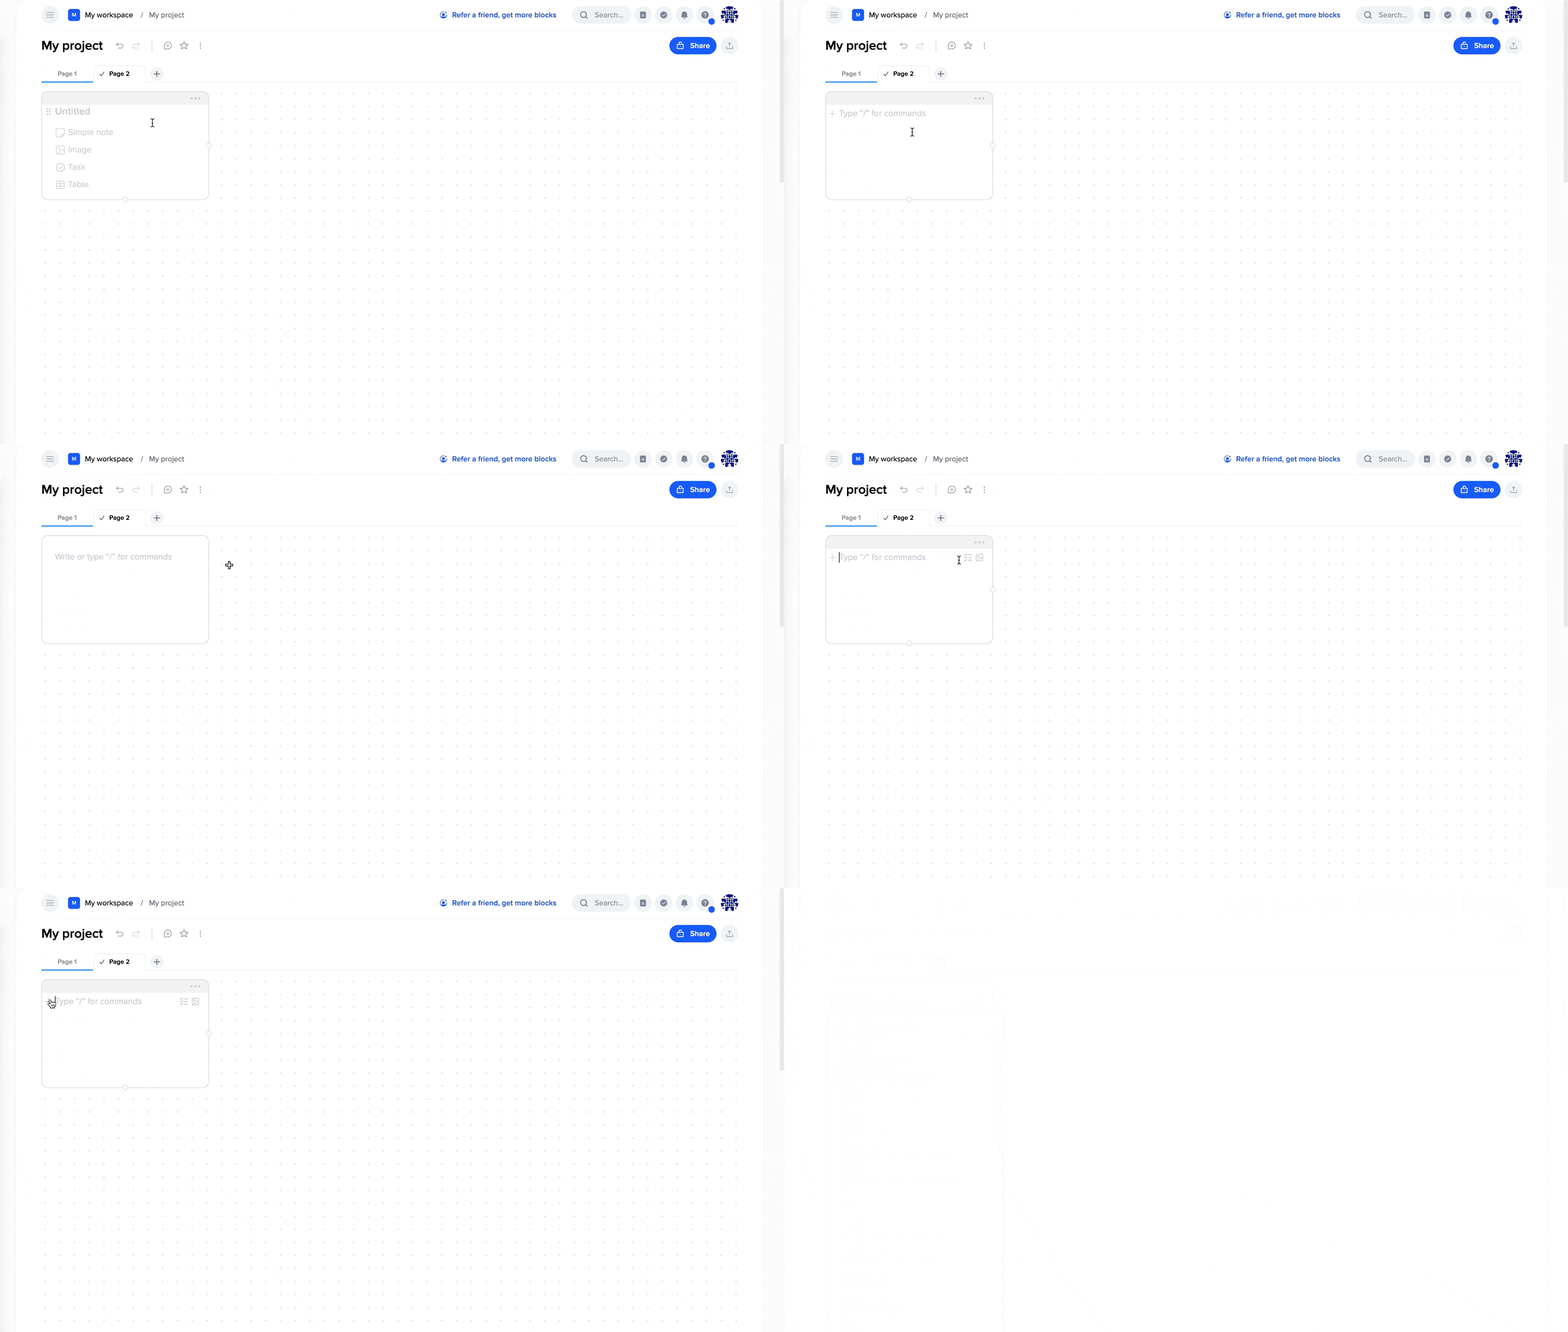
Block
To create a block in the tile, follow these steps:
- Click on any area of the tile and enter any text – this will create a block.
Sub-page
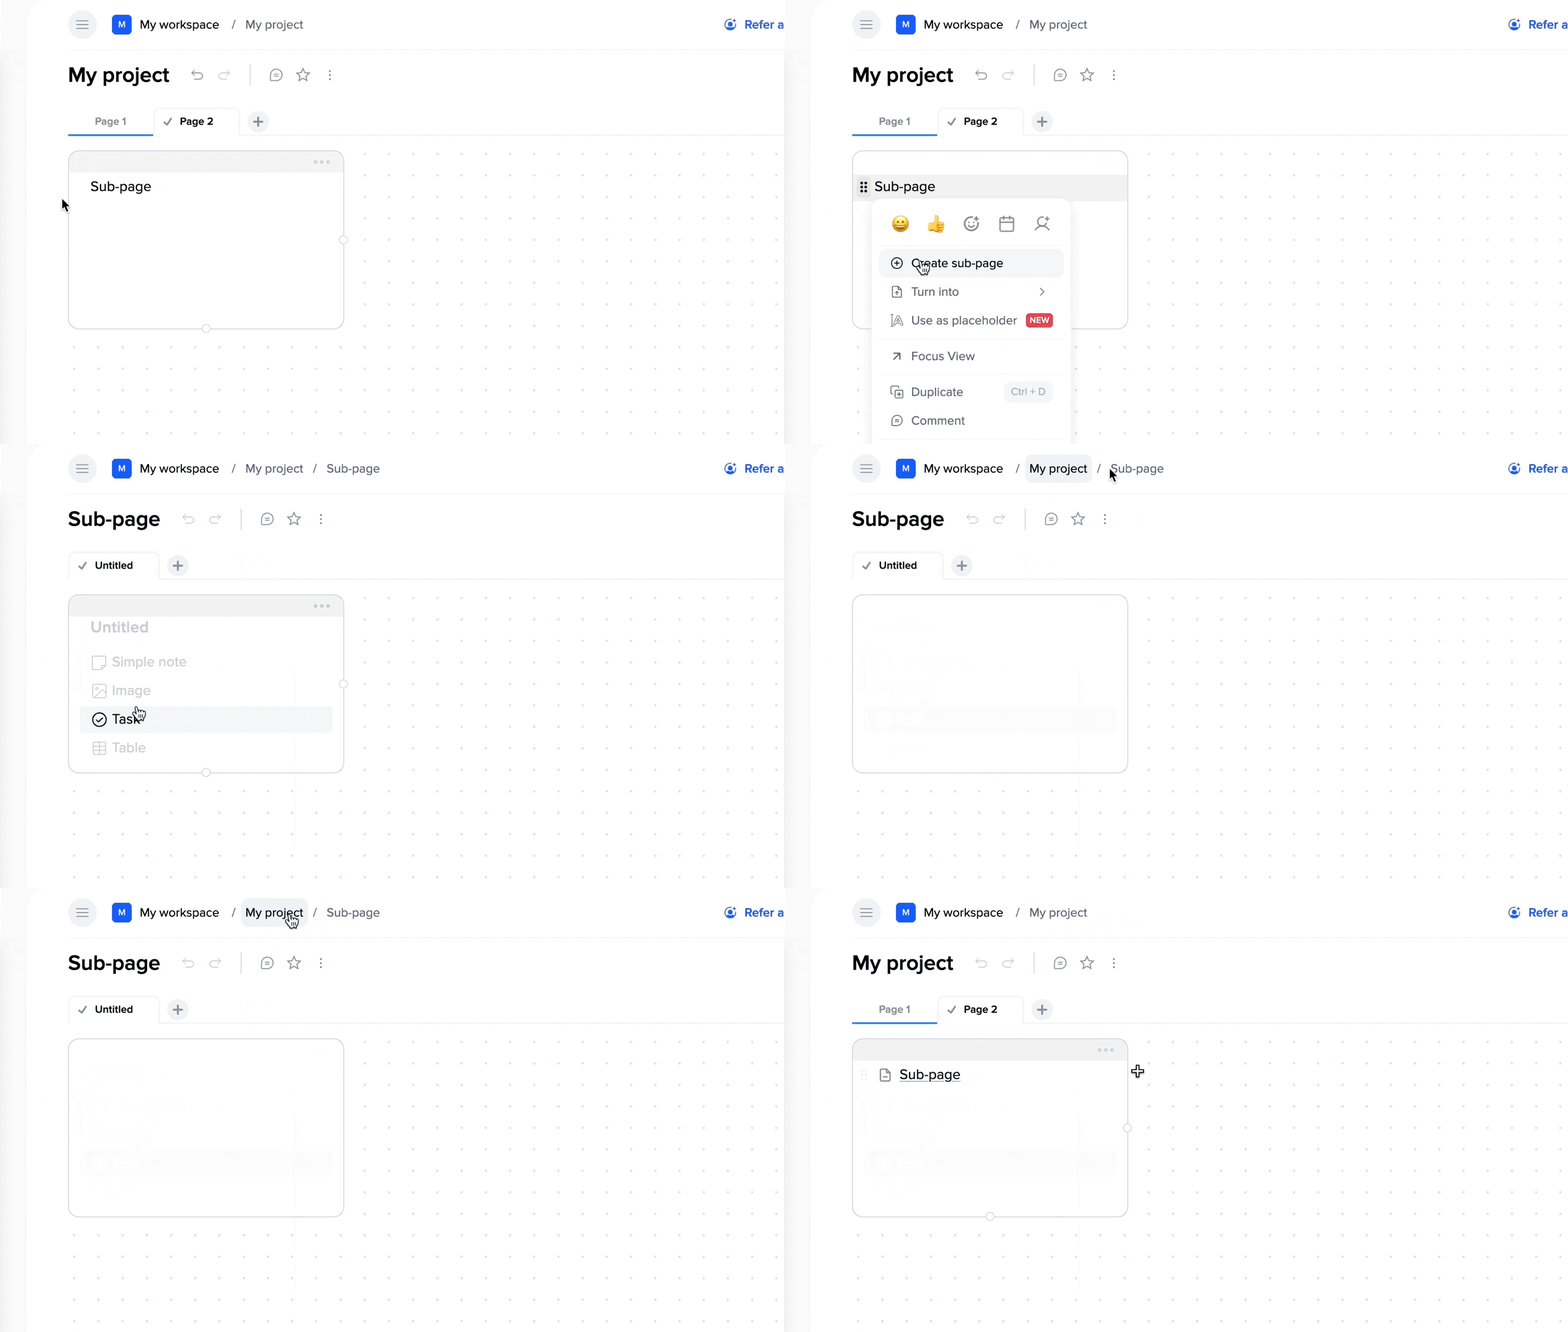
To create a sub-page on a page, follow these steps:
- Create a text block in the tile where you want to create the sub-page (or use an existing text block);
- Open the block menu by clicking on the icon on the left side of the block;
- Click on the “Create sub-page” operation.
You will be redirected to the newly created sub-page.
Thanks to breadcrumbs that display the path to the current page, you will always know what level you are at and can use them for navigation.
Expanded block
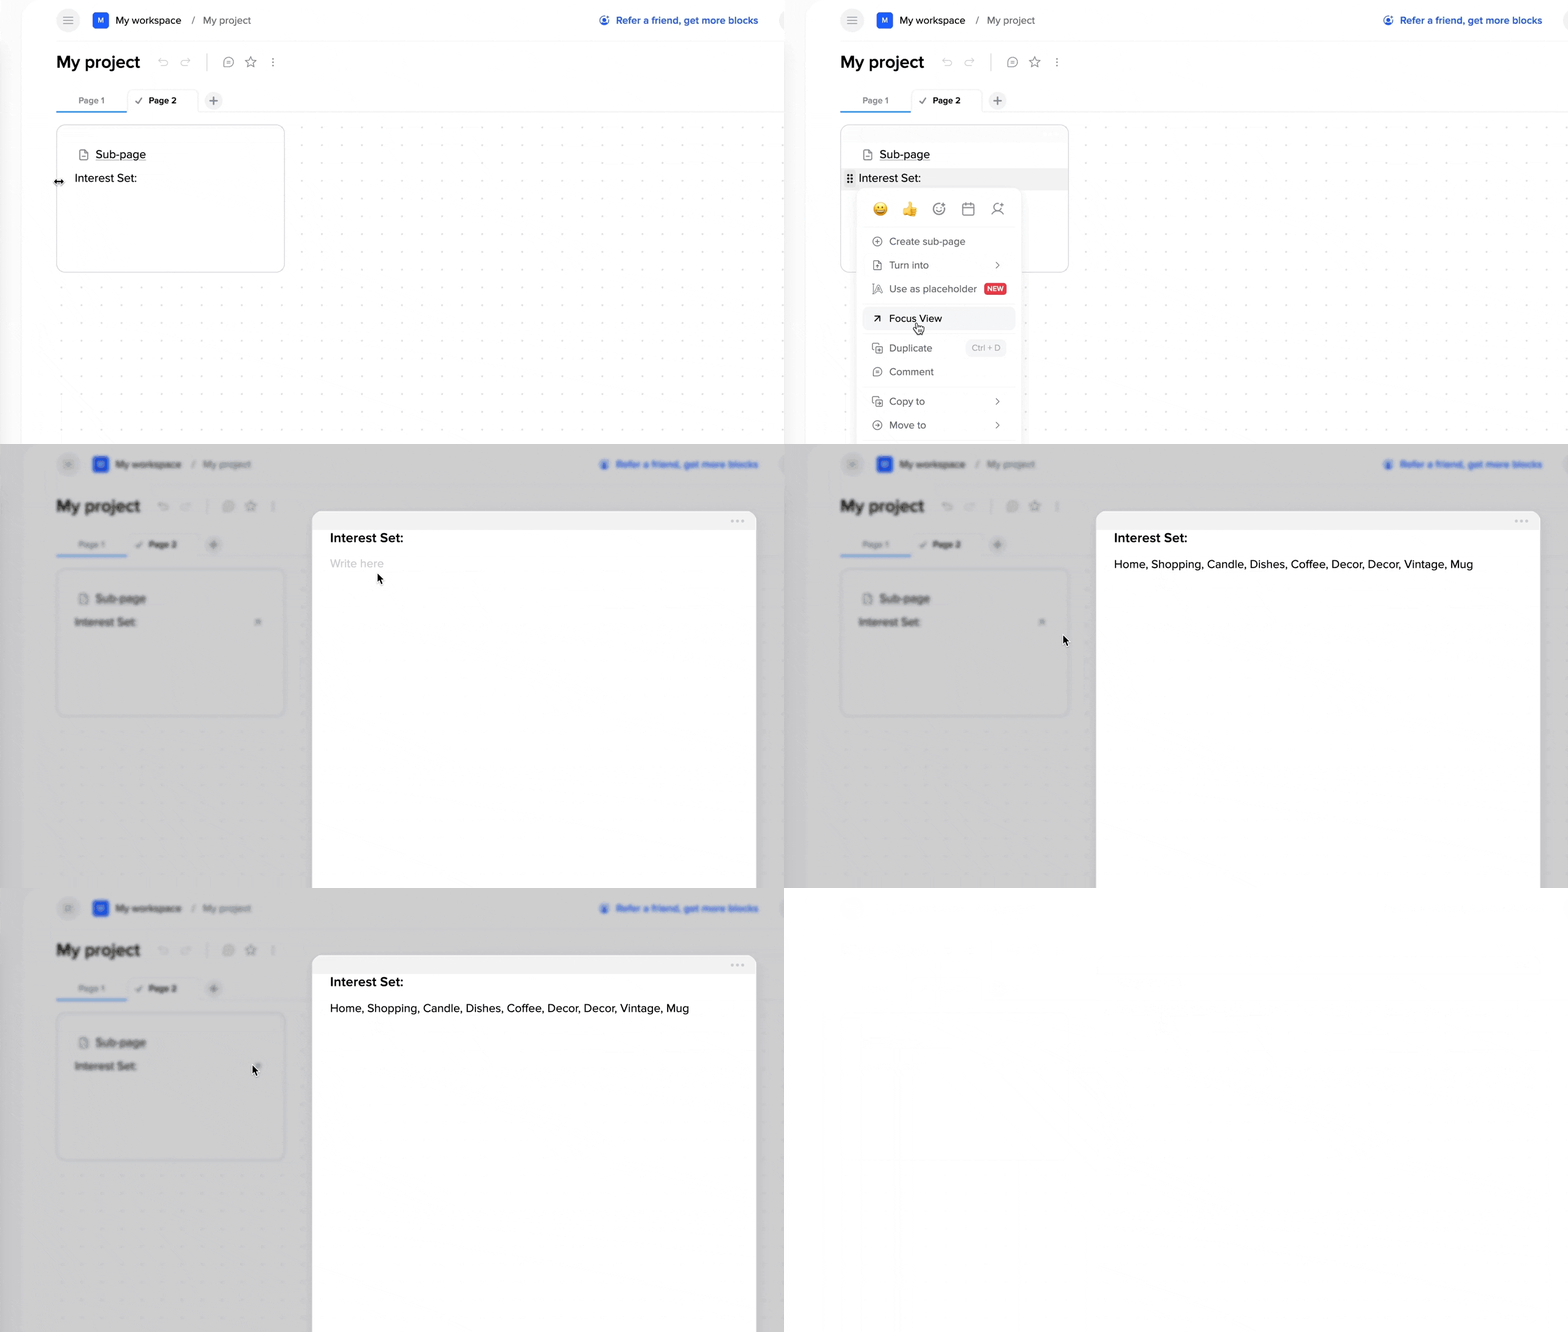
To create an expanded block, follow these steps:
- Create a text block in the tile where you want to create an expanded block (or use an existing text block);
- Open the block menu by clicking on the left-side icon where the block starts;
- Select “Expand block” from the list of options;
- Fill in the block with any desired content;
- After closing the changes, they will be automatically saved.
The block will now be “transformed” into an expanded block that can be expanded or collapsed to view or hide its contents.
Join our community and stay tuned for product updates
Learn more about our plans and available features, visit the pricing page and choose the best option that fits your workflow.
Stay updated on xTiles product updates with the changelog.
Join the xTiles community on Slack and Discord instead visit the Youtube channel and xTiles blog, and follow us on social media to stay informed about the latest news, updates, and great content!


